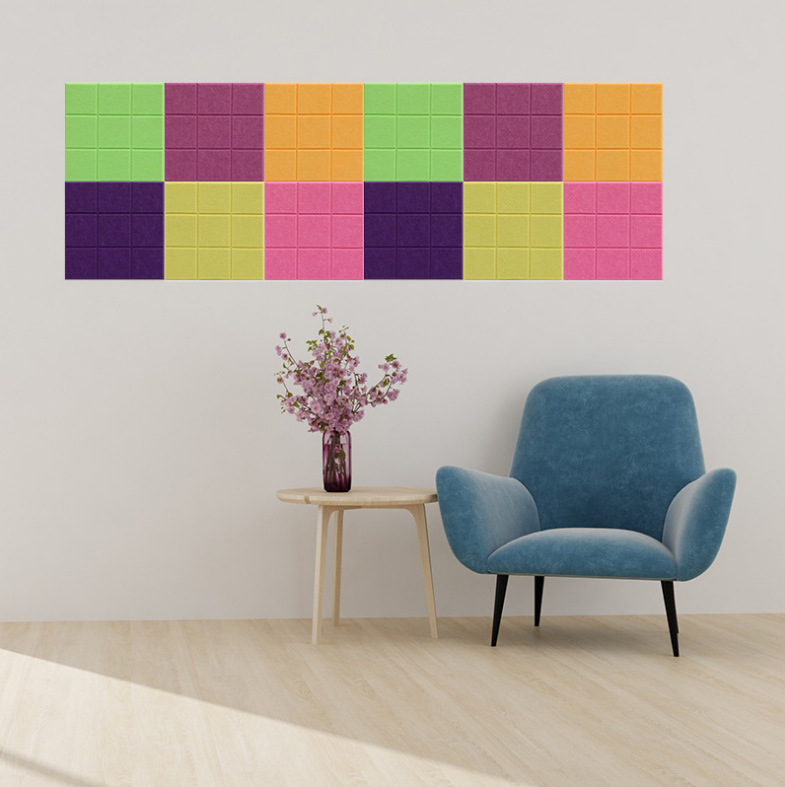
How to Make Cheap Sound Absorbing Panels
If you’re looking to reduce noise in your home, office, or studio without breaking the bank, making your own sound-absorbing panels can be a great solution. These panels can significantly reduce echo and improve sound quality, making your space more comfortable and conducive to activities like music production, recording, or simply enjoying a peaceful environment. Here’s how you can create effective, inexpensive sound-absorbing panels.
Materials You Will Need
1. Acoustic Foam or Mineral Wool - For the core material, you can use acoustic foam sheets, which can be purchased online or at music stores. Alternatively, mineral wool or fiberglass insulation can be an economical option that also provides excellent sound absorption.
2. Fabric - Choose a breathable fabric that complements your decor. Common choices include burlap, cotton, or polyester. Ensure the fabric can stretch and wrap around the panel tightly to maintain aesthetic appeal.
3. Wood Frames (Optional) - If you prefer a structured look, consider building frames from wood. This is optional, but framed panels often look more polished and can be easier to hang.
4. Adhesive or Stapler - You’ll need an adhesive or a staple gun to attach the fabric to the foam or insulation material.
5. Backing Material (Optional) - You might also want to use plywood or cardboard for backing if you're building frames, providing additional support and a solid base to mount the panels.
Step-by-Step Instructions
1. Measure the Area - Determine where you want to place your sound-absorbing panels. Measure the dimensions of the area on your walls or ceiling to get an idea of how large you want your panels to be.
how to make cheap sound absorbing panels

3. Create the Frame (if applicable) - If you’re using a wooden frame, cut the wood pieces to create a rectangle or square that matches the size of your foam. Assemble the frame using screws or nails to hold it together firmly.
4. Attach the Sound-Absorbing Material - Place the cut foam or mineral wool inside the frame (if using) or directly onto your workspace. Ensure it fits snugly.
5. Wrap the Fabric - Lay the fabric on a flat surface, place the sound-absorbing material in the center, and then fold the fabric over it. Pull it taut while wrapping, ensuring there are no wrinkles.
6. Secure the Fabric - Use a staple gun to attach the fabric to the back of the frame or the foam directly, making sure to pull the fabric tightly to keep it smooth. If you're using adhesive, apply it generously, then press the fabric down.
7. Final Touches - If you’ve created a frame, ensure all edges are secure, and trim any excess fabric if necessary. You can also paint the frame or fabric to match your interior design.
8. Hang the Panels - Use picture hangers, adhesive strips, or brackets to mount your panels on the wall. Space them apart for more effective sound absorption, especially in larger areas.
Additional Tips
- Include a variety of panel sizes for better diffusion of sound waves. - Experiment with placing panels in different configurations to achieve optimal acoustic treatment. - Consider using various colors and patterns of fabric to add a decorative touch to the functional panels.
By following these steps, you’ll be able to build your own sound-absorbing panels that are both practical and economical. Not only will they enhance your acoustic environment, but they will also allow you to customize your space to suit your personal style. Happy crafting!
