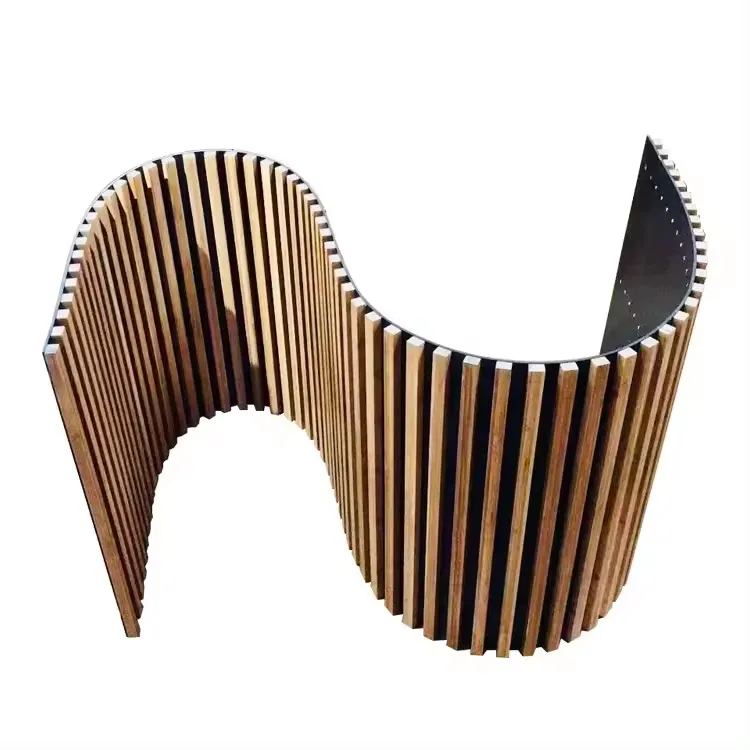
How to Make Sound Absorbing Wall Panels
In today's world, noise pollution has become a significant concern for many people. Whether you live in a bustling city, a busy household, or a loud workspace, unwanted sound can be distracting and even detrimental to productivity and relaxation. One effective solution to combat this issue is the use of sound absorbing wall panels. In this article, we will discuss how to make your own sound absorbing wall panels, providing you with an affordable and creative way to improve your acoustic environment.
Understanding Sound Absorption
Before diving into the construction process, it's essential to understand how sound absorption works. Sound waves travel through the air and bounce off hard surfaces, causing echo and reverberation. Sound absorbing materials can help dampen these waves, reducing reflected noise. Common materials used for sound absorption include foam, fabric, and dense fibers. The key is to utilize materials that can effectively trap sound and minimize reflection.
Materials Needed
To create your own sound absorbing wall panels, you will need the following materials
1. Sound-absorbing material Acoustic foam panels, mineral wool, or dense fabric can serve as the primary sound absorbing component. 2. Wood frame Plywood or inexpensive wood boards can be used to create frames for the panels. 3. Adhesive Spray adhesive or a staple gun will help attach the absorbing material to the frame. 4. Covering fabric Aesthetic fabric to cover the frames and enhance the panels' appearance. 5. Mounting hardware Hooks, nails, or brackets for attaching the panels to the wall.
Step-by-Step Guide
1. Measure and Cut the Frame Start by measuring the area where you want to install the panels. Decide on the size of your panels (a common size is 2 feet by 4 feet). Cut the wood to the desired dimensions to create a rectangular frame.
how to make sound absorbing wall panels

2. Assemble the Frame Use screws or nails to assemble the cut pieces into a rectangular shape. Ensure the frame is sturdy enough to hold the sound absorbing material.
3. Prepare the Sound Absorbing Material Cut your chosen sound absorbing material to fit snugly within the frame. If using mineral wool, wear protective gloves and a mask to avoid irritation.
4. Attach the Material to the Frame Apply adhesive or use a staple gun to secure the sound absorbing material to the inside of the frame. Make sure it is tightly fitted to prevent any sound leakage.
5. Cover with Fabric Cut the aesthetic fabric to the appropriate size, allowing extra material to wrap around the edges. Place the fabric over the front of the panel and secure it to the back of the frame using adhesive or staples. This adds a finished look while allowing sound to penetrate through to the absorbing material.
6. Mount the Panels Choose the location for your panels based on the sound issues you are facing. Install mounting hardware on the back of the panel and attach it to the wall. Ensure that they are spaced out appropriately for maximum sound absorption.
Additional Tips
- Design Considerations You can create visually appealing panels by choosing fabrics that match your room’s decor. Consider using different shapes and sizes for a more dynamic look. - Testing Effectiveness After installation, evaluate the acoustics of the room. You may want to add more panels or experiment with placement to achieve the best results. - Maintenance Keep the fabric clean by vacuuming regularly and addressing any stains promptly.
Conclusion
Making sound absorbing wall panels is a straightforward DIY project that can significantly improve your acoustic environment. By following these steps, you can create custom panels that not only reduce noise but also enhance the aesthetics of your space. With a little creativity and effort, you can enjoy a quieter, more serene atmosphere in your home or office.
