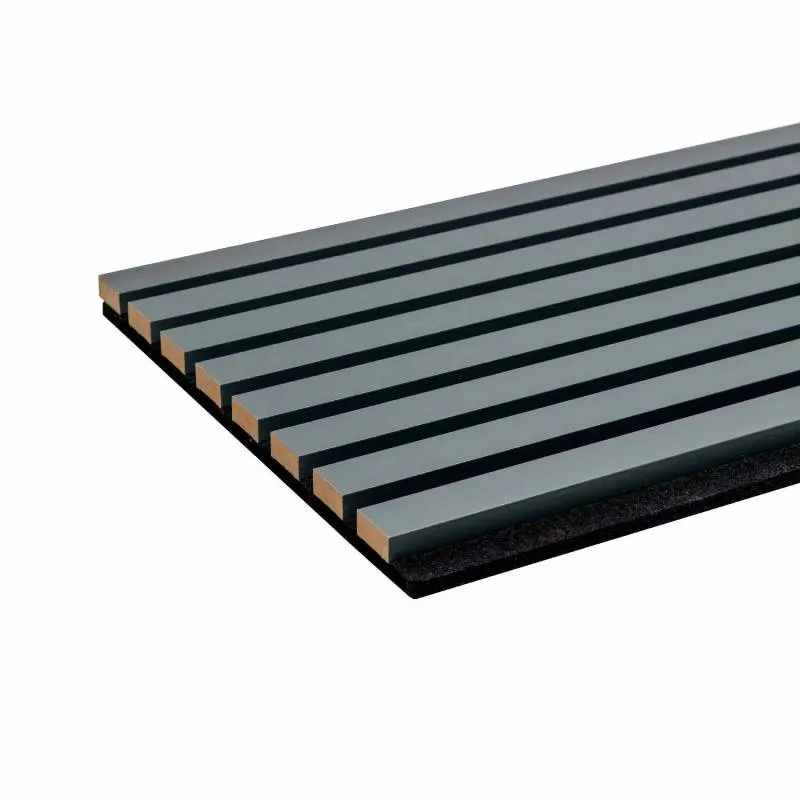
How to Build Acoustic Panels A Step-by-Step Guide
Creating a comfortable acoustic environment is essential for various spaces, whether it's a home studio, a busy office, or a living area. Acoustic panels help to absorb sound, reduce echo, and improve overall sound quality. Building your own acoustic panels can be a rewarding DIY project that allows you to customize the design and materials to suit your needs and tastes. Here’s a step-by-step guide on how to build acoustic panels.
Materials Needed
1. Fiberglass Insulation Rigid fiberglass batts are effective for sound absorption. 2. Wood Frame Use 1x4 or 1x2 lumber to create a frame for your panels. 3. Fabric Choose a breathable fabric, such as burlap or upholstery fabric, that complements your decor. 4. Wood Glue To secure the frame components. 5. Staple Gun For attaching the fabric to the frame. 6. Screws For assembling the frame. 7. Acoustic Caulk (optional) For sealing gaps and enhancing sound absorption. 8. Mounting Hardware To hang the panels on walls.
Step 1 Determine Panel Size and Design
Before you get started, decide on the dimensions of your acoustic panels. A common size is 2x4 feet, but you can adjust the size based on your space and needs. Consider the placement of the panels; areas with significant sound reflection, such as across from speakers or potential noise sources, are ideal.
Step 2 Build the Frame
- Cut the lumber to the desired size for your frame. For a 2x4 panel, you will need two horizontal pieces and two vertical pieces. - Assemble the frame by joining the pieces at the corners. Use wood glue and screws to provide stability. Make sure the frame is square by measuring diagonally from corner to corner.
Step 3 Insert the Acoustic Insulation
how to build acoustic panels

- Cut the fiberglass insulation to fit snugly inside the frame. Ensure that it fits tightly but does not compress the material, as it needs to maintain its effectiveness. - Place the insulation within the frame. Ensure it fills the entire space without gaps.
Step 4 Attach the Fabric
- Cut your chosen fabric to fit the frame, leaving a few extra inches on each side for wrapping. - Lay the fabric face down on a flat surface, then place the frame with the insulation on top of it. - Pull the fabric over the edges of the frame, wrapping it tightly around and securing it on the back using a staple gun. Start from the middle of one side and work your way out. Ensure the fabric is smooth and taut.
Step 5 Seal and Finish
- If desired, apply acoustic caulk around the edges of the frame where the fabric meets the wood for added soundproofing. - Let everything dry and check the integrity of your panel. Make any necessary adjustments for strength and appearance.
Step 6 Mount the Panels
Choose the mounting method that suits your wall. You can use a simple picture hanger, brackets, or adhesive strips for easy removal. Hang the panels where they will be most effective in absorbing sound.
Conclusion
Building acoustic panels is a straightforward project that can significantly enhance the sound quality of any space. By following these steps, you can create custom panels that not only serve a functional purpose but also can enhance the aesthetics of your environment. Happy building!
