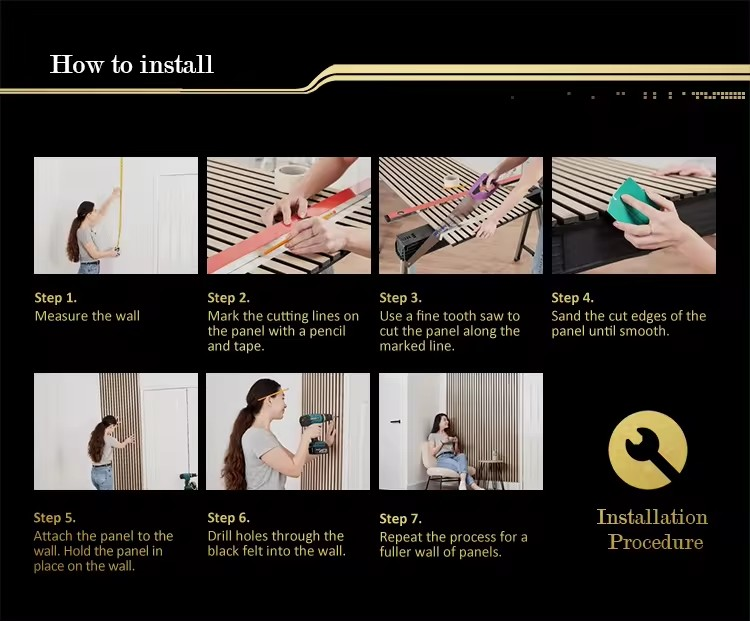
How to Build Acoustic Panels A Step-by-Step Guide
Creating a well-soundproofed environment is essential for anyone in music, video production, or simply seeking a quieter home or office. Acoustic panels help reduce unwanted sound reflections, enhance audio quality, and absorb noise. Building your own acoustic panels can be both a fun DIY project and a cost-effective solution. Here’s a step-by-step guide on how to build acoustic panels.
Materials Needed
Before you begin, gather the necessary materials
1. Wood 1x4 or 1x2 boards for the frame. 2. Fabric Thick, durable fabric like burlap, cotton, or acoustic material. 3. Insulation Rigid fiberglass or mineral wool insulation for sound absorption. 4. Staples and Staple Gun To attach the fabric to the frame. 5. Wood Glue For added strength in the frame. 6. Screws For securely assembling the frame. 7. Saw To cut the wood to size. 8. Drill To screw the frame together. 9. Measuring Tape For accurate measurements. 10. Paint (Optional) To finish the wood frame.
Step 1 Measure and Cut the Wood
Start by determining the size of the panels you want to create. Common dimensions are 24 inches by 48 inches or 12 inches by 12 inches, depending on your needs and space. Using a measuring tape, mark your cuts on the wood and use a saw to cut the 1x4 or 1x2 boards to size. Each panel will typically consist of a rectangular or square frame.
Step 2 Assemble the Frame
Lay the cut pieces out on a flat surface to form a rectangle or square. Use wood glue on the ends where the pieces meet, and then use screws to secure the corners tightly. This will form a sturdy frame to support the insulation.
Step 3 Prepare the Insulation
Cut the fiberglass or mineral wool insulation to fit snugly inside the frame you’ve constructed. Ensure that you wear gloves and a mask when handling fiberglass to protect yourself from skin irritation and inhalation of particles.
how to build acoustic panels

Step 4 Insert the Insulation
Once the insulation is cut to size, place it inside the wooden frame. Ensure that it fits snugly and fills the entire space without gaps. The insulation is crucial for sound absorption, so this step is vital for the efficiency of your panels.
Step 5 Cover the Frame with Fabric
Next, lay your chosen fabric down on a flat surface and place the panel frame with insulation facedown on top of it. Pull the fabric tightly around the edges of the frame and secure it with the staple gun. Start with one side, then move to the opposite side, pulling taut before stapling. Repeat this process with the remaining sides, ensuring the fabric is tight and neat.
Step 6 Finishing Touches
If desired, you can paint the frame to match your decor. This step is optional but can add a nice touch to the overall appearance of the panels. Allow any paint to dry completely before proceeding.
Step 7 Mount the Panels
Finally, decide where you will place your acoustic panels. Use hooks or brackets to mount them on walls at height levels that will maximize sound absorption (the ears' height is ideal). Alternatively, you can prop them against walls or use them as free-standing panels.
Conclusion
Building acoustic panels is a rewarding project that enhances the acoustics of your space while providing aesthetic value. With some basic tools and materials, anyone can create functional and attractive acoustic solutions. Enjoy your newly created sound environment!
