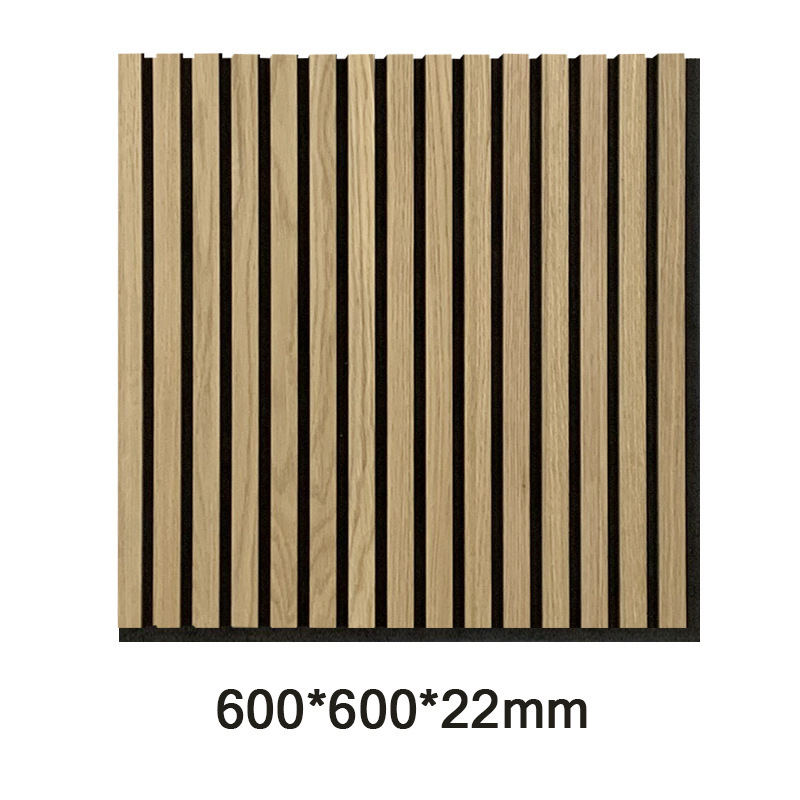
Building Soundproof Panels for a Quieter Space
In our increasingly noisy world, the need for soundproofing has never been more pertinent. Whether you live in a bustling city, work from home, or simply wish to create a peaceful retreat, soundproof panels offer a practical solution to manage and minimize noise. This article will guide you through the process of building your own soundproof panels.
Understanding Soundproof Panels
Soundproof panels are designed to absorb sound waves and prevent them from bouncing around a room. Unlike traditional walls, which can reflect sound, these panels reduce noise transmission, thus improving the acoustics of the space. They can be particularly effective in recording studios, home theaters, or even in a child’s playroom.
Materials Needed
To build your own soundproof panels, you will need the following materials
1. Wood Frame Use plywood or 1x4 lumber to create a sturdy frame for your panels. 2. Acoustic Insulation Material Fiberglass insulation or rock wool is a great choice as they effectively absorb sound. 3. Fabric Choose a fabric that complements your décor while still being acoustically transparent. Common choices include burlap or blackout curtains. 4. Adhesive and Staples A strong adhesive will help secure the insulation, and staples will be needed to attach the fabric. 5. Mounting Hardware Depending on your setup, you may need brackets, hooks, or other hardware to attach the panels to the walls.
Step-by-Step Instructions
1. Measure and Cut the Frame Start by measuring the size of the panel you want to build. Common dimensions are 2 feet by 4 feet. Cut your wood to size and assemble the frame using screws or nails.
building soundproof panels

2. Add Insulation Cut your acoustic insulation material to fit snugly within the frame. Place it inside the frame, ensuring there are no gaps. This insulation is the heart of your soundproof panel and is critical for reducing sound transmission.
3. Cover with Fabric Lay your fabric face down on a flat surface. Place the frame with the insulation on top of the fabric. Pull the fabric over the sides of the frame and secure it to the back with staples or adhesive. Make sure the fabric is tight and smooth to prevent sagging.
4. Finish the Edges Once the fabric is secure, you may want to add some finishing touches. This can include decorative trim or additional stapling to enhance the overall look of your panel.
5. Mounting the Panels Decide where you want to hang the panels. They can be strategically placed on walls where sound bounces the most, such as opposite windows or hard surfaces. Use appropriate mounting hardware to secure the panels in place.
Tips for Effectiveness
- Panel Placement Experiment with placement to find the best configuration for your space. Start with placing panels on walls where sound tends to echo. - Think About Size Larger panels tend to be more effective, but they may not fit all spaces. Balance size with aesthetics. - Combine Strategies For optimal soundproofing, consider combining your panels with rugs, heavy curtains, and even furniture organization to further minimize sound.
Conclusion
Building your own soundproof panels is a rewarding project that can greatly enhance your living or working environment. With a few materials and some effort, you can create a quieter, more peaceful space tailored to your needs. As noise pollution continues to affect our daily lives, having a soundproof sanctuary can provide the calm we all crave. So, gather your materials, follow these steps, and enjoy the tranquility that comes from effective soundproofing.
