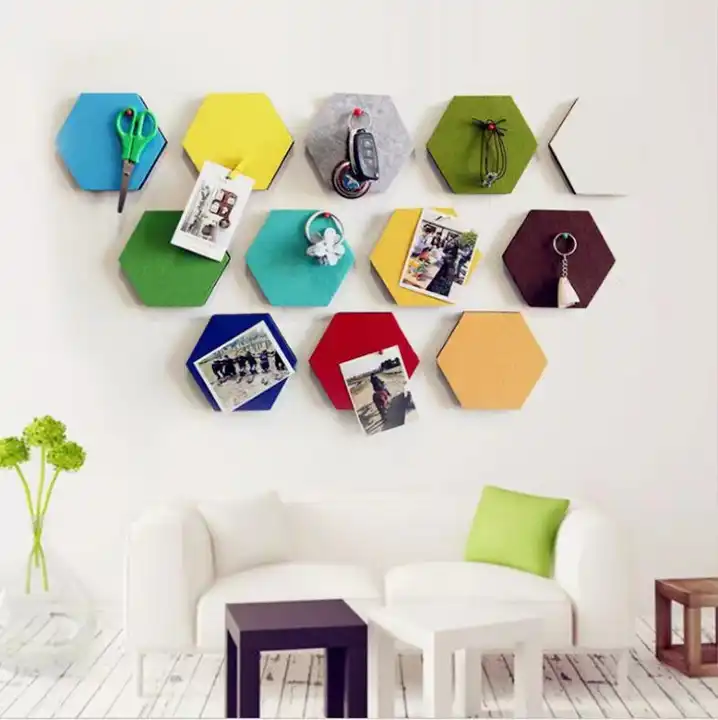
How to Make Sound Absorbing Wall Panels
In our increasingly noisy world, creating a peaceful environment in our homes or offices has become essential. One effective solution for reducing sound reverberation and improving acoustic quality is the use of sound-absorbing wall panels. These panels not only enhance the aesthetic appeal of a space but also contribute to better sound quality. Here’s a guide on how to make your own sound-absorbing wall panels.
Materials Needed
To begin, you’ll need the following materials
1. Fiberglass or Foam Acoustic fiberglass panels or soundproof foam are ideal for absorption. You can choose materials with different thicknesses, but a thickness of 2 to 4 inches often yields the best results.
2. Fabric A breathable fabric is required to cover the panels. Choose something that matches your decor, such as cotton or burlap, which allows sound waves to penetrate while still offering a polished look.
3. Wood Frame (optional) For added stability, you might want to create a wooden frame. Plywood or wooden boards can be used to build the structure.
4. Adhesive or Staple Gun To attach the fabric to the panel or frame, use a strong adhesive or a staple gun.
5. Saw (if constructing a frame) A hand saw or power saw may be necessary if you decide to create a frame.
6. Measuring Tape and Ruler To ensure accuracy in measurements.
how to make sound absorbing wall panels

7. Utility Knife or Scissors For cutting the foam or fabric.
Steps to Make Your Sound Absorbing Wall Panels
1. Measure and Cut the Materials Start by determining the size of the panels you want to create. Measure the space available on your walls to get the dimensions right. Once you have the measurements, cut the fiberglass or foam to size using a utility knife.
2. Construct the Frame (if applicable) If you’re using a wooden frame, cut the wood to match the dimensions of your panels. Assemble the frame using nails or screws to create a sturdy border for your acoustic material. This helps protect the edges of the fiberglass or foam and makes it easier to mount.
3. Attach the Acoustic Material Using an adhesive, attach the fiberglass or foam to the back of the fabric. For frames, simply place the acoustic material inside the built frame. Ensure it fits snugly as gaps can reduce the effectiveness of sound absorption.
4. Wrap the Fabric Once the acoustic material is secured, stretch the fabric over it. Make sure to pull it tight to avoid wrinkles, which can detract from the overall look. Use a staple gun or adhesive to secure the fabric to the back of the panel or frame, trimming any excess fabric.
5. Mounting the Panels Decide where to hang your new sound-absorbing panels. Common areas include home theaters, music studios, or workplaces where reducing noise is beneficial. Use appropriate mounting hardware based on the weight and size of your panels; for small to medium-sized panels, picture hooks or heavy-duty adhesive strips can work well.
6. Test the Effectiveness After hanging your panels, spend some time in the area to notice the difference in sound absorption. Adjust the placement of the panels as needed to optimize acoustic performance.
Conclusion
Creating your own sound-absorbing wall panels can be a fun and rewarding project that enhances your living or working space. Not only do they provide functional benefits by improving acoustics, but they also allow you to express your creativity through color and texture. Whether it's for a home theater, a music room, or a quiet office, these panels can make a significant difference in sound quality and overall comfort. So gather your materials and get started on your DIY acoustic project!
-
Wooden Sound Proof Panels for Conference RoomsNewsJun.13,2025
-
Maintenance Tips for Felt Wall PanelsNewsJun.13,2025
-
How to Clean and Maintain a Pet Snuffle MatNewsJun.13,2025
-
Custom Shapes and Sizes for Polyester Fiber Acoustic PanelsNewsJun.13,2025
-
Best Sound Proof Panels for Home TheatersNewsJun.13,2025
-
Benefits of Wooden Acoustic Wall Panels for Home TheatersNewsJun.13,2025
