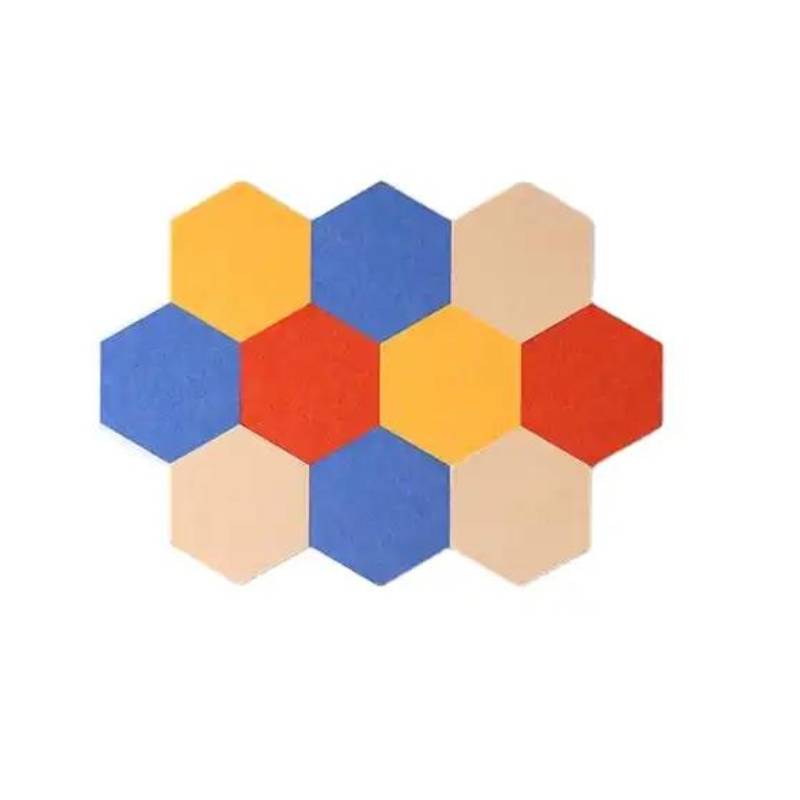
How to Make Acoustic Panels for Your Home Studio
Creating a conducive environment for sound recording or music practice is essential for any home studio. Acoustic panels play a significant role in controlling sound reflections, reducing echoes, and enhancing the overall sound quality of your recordings. If you're considering making your own acoustic panels, this article will guide you through the process step-by-step.
Materials You'll Need
To get started, gather the following materials
1. Fiberglass or Rockwool Insulation These materials are excellent at absorbing sound. Look for products with high density for maximum effectiveness. 2. Wood for Frames Pine or plywood works well. You’ll need enough to create the frame of your panels. 3. Fabric Choose a breathable fabric that will cover the panel while allowing sound to pass through. Options include burlap, cotton, or acoustic fabric. 4. Staple Gun and Staples To attach the fabric to the frames. 5. Saw and Drill For cutting wood and assembling the frames. 6. Measuring Tape For precise measurements.
Step-by-Step Instructions
1. Measure and Cut the Wood Determine the size of your acoustic panels based on the space available and your specific needs. Common dimensions are 2’x4’ or 2’x2’. Use a saw to cut the wood to the desired lengths.
2. Assemble the Frame Create a rectangular frame using the cut wood pieces. Secure the corners with screws or wood glue, ensuring the frame is sturdy.
how to make acoustic panels for home studio

3. Prepare the Insulation Cut the fiberglass or rockwool insulation to fit snugly within the frame. Leave a bit of space along the edges to avoid having the insulation exposed.
4. Insert the Insulation Place the insulation into the wooden frame. Ensure it is tightly packed to prevent any sound leakage.
5. Cover with Fabric Lay the chosen fabric over the frame, pulling it tight to avoid wrinkles. Fold the excess fabric over the edges of the frame and secure it in place using a staple gun. Make sure the fabric covers all areas of insulation completely.
6. Mounting the Panels Decide where to place your acoustic panels. High-traffic areas like walls opposite windows or corners are effective spots for sound absorption. Use wall brackets or nails to mount the panels securely.
7. Testing After installation, test the sound quality of your home studio. You should notice a significant reduction in echoes and a clearer sound profile.
Final Thoughts
By making your own acoustic panels, you not only enhance the acoustic quality of your home studio but also save money compared to purchasing pre-made panels. This DIY project is straightforward and can be customized according to your space and preferences. Remember, the key to great sound is not just in the equipment you use, but also in the environment you create. Enjoy your upgraded studio experience!
-
Wooden Sound Proof Panels for Conference RoomsNewsJun.13,2025
-
Maintenance Tips for Felt Wall PanelsNewsJun.13,2025
-
How to Clean and Maintain a Pet Snuffle MatNewsJun.13,2025
-
Custom Shapes and Sizes for Polyester Fiber Acoustic PanelsNewsJun.13,2025
-
Best Sound Proof Panels for Home TheatersNewsJun.13,2025
-
Benefits of Wooden Acoustic Wall Panels for Home TheatersNewsJun.13,2025
