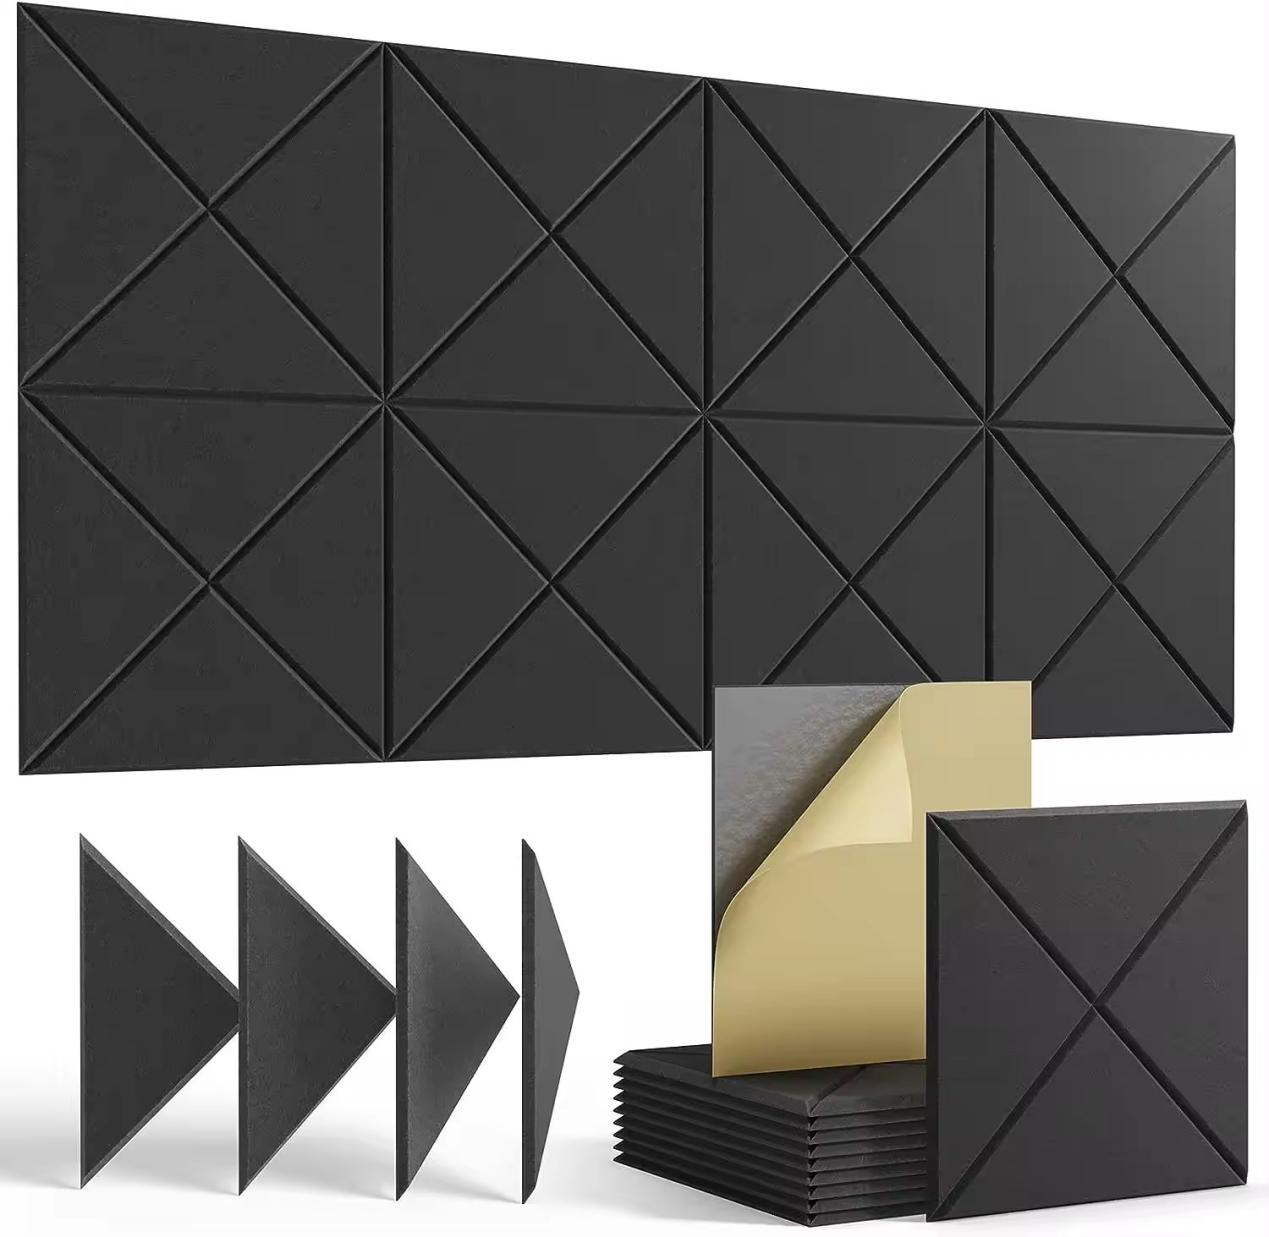
How to Make Sound Absorbing Wall Panels
In today's world, noise pollution can be a significant issue, whether in our homes, offices, or studios. One effective solution to mitigate this problem is by installing sound-absorbing wall panels. These panels not only enhance the acoustics of a space but also add aesthetic value. If you're looking to create your own sound-absorbing wall panels, here’s a guide to help you through the process.
Materials Needed
1. Wood or MDF Boards These will act as the frame for your panels. Choose a thickness of at least 1 inch for better sound absorption. 2. Acoustic Foam or Fiberglass Insulation These materials will absorb sound waves. Acoustic foam is widely available in various thicknesses and densities, while fiberglass is more effective but requires careful handling.
3. Fabric Select a breathable fabric to cover the front of your panels. This will allow sound waves to pass through while providing a stylish finish. Some popular choices include burlap, linen, or acoustic fabric.
4. Staple Gun For attaching the fabric to the panel.
5. Wood Glue or Screws To assemble the wooden frame and secure the insulation.
6. Measuring Tape To ensure accurate measurements.
7. Saw To cut wood to desired dimensions.
8. Drill To assemble the panel if using screws.
9. Sandpaper To smooth the edges of the wood.
how to make sound absorbing wall panels

Step-by-Step Guide
1. Measure and Cut Start by measuring the space where you want to install the panels. Determine the size of each panel, typically 2 feet by 4 feet is effective, but you can customize according to your needs. Use a saw to cut the wood or MDF boards to the desired size and sand the edges for a smooth finish.
2. Assemble the Frame Create a frame by joining the cut pieces of wood. Use wood glue or screws to secure the joints. Ensure that the frame is sturdy, as it will hold the acoustic materials.
3. Cut Acoustic Material Cut your acoustic foam or fiberglass insulation to fit snugly inside the frame. It’s essential to have a tight fit to maximize sound absorption.
4. Insert Insulation Place the insulation material inside the frame carefully. Ensure it fills the entire space without any gaps.
5. Cover with Fabric Cut your fabric, leaving extra material on each side so you can wrap it around the edges. Lay the fabric face down, then place the frame with insulation on top. Pull the fabric over and secure it on the back side with a staple gun. Make sure to pull the fabric tight to avoid wrinkles.
6. Final Assembly Once the fabric is securely attached, check for any loose areas and re-staple if necessary. Trim any excess fabric from the back for a cleaner look.
7. Mounting the Panels Decide where you want to mount the panels. You can use adhesive strips for temporary installations, or more permanent methods like screws or brackets for a sturdy hold. Make sure to place panels strategically in areas where sound reflection occurs, such as opposite walls or corners.
8. Decorate and Enjoy Once your panels are installed, consider adding additional decorative elements such as framing the edges or painting them to match your room’s decor.
Conclusion
Creating your own sound-absorbing wall panels can be both a rewarding and practical project. They help in reducing unwanted noise, improving the acoustics of the space, and can be customized to fit your style. With just a few materials and some basic tools, you can enhance the comfort and functionality of any room. So why not give it a try? Your ears will thank you!
