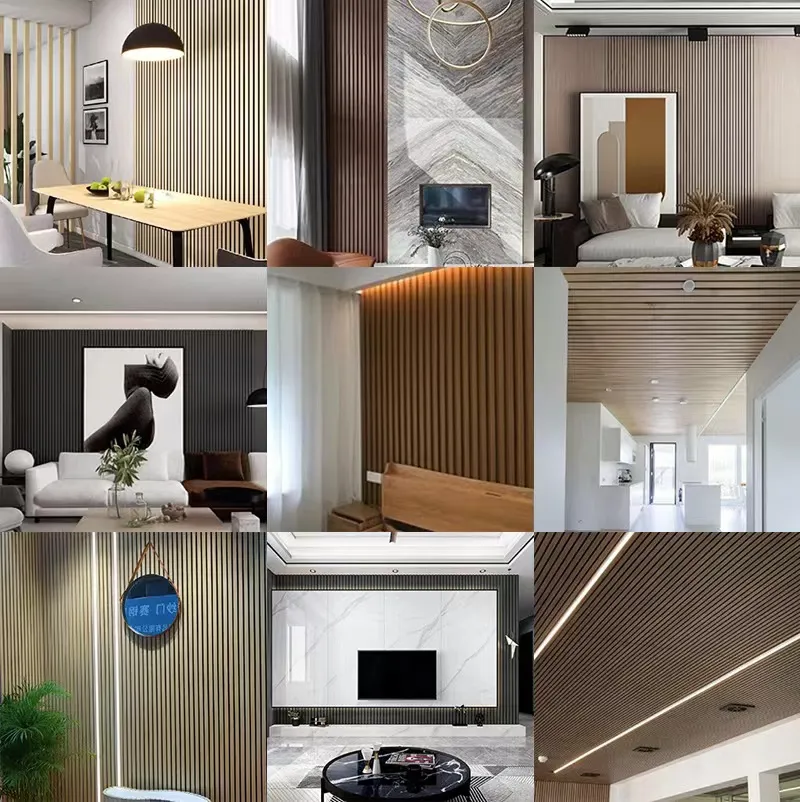
How to Make Acoustic Wood Panels
Acoustic wood panels are an effective solution for improving sound quality in various environments, ranging from home theaters to recording studios, and even offices. They help reduce unwanted noise and enhance sound clarity through absorption. Creating your own acoustic panels can be a rewarding project that not only tailors the aesthetics of your space but also meets your acoustic needs. In this guide, we will explore how to make acoustic wood panels step by step.
Materials Needed
1. Wood Boards Choose lightweight, porous wood like pine or plywood. The thickness can vary, but typically ¾ inch is a good choice for effective sound absorption. 2. Acoustic Insulation Material Fiberglass insulation or foam can be used, depending on your preference. Look for materials with high NRC (Noise Reduction Coefficient) ratings. 3. Adhesive A strong construction adhesive or contact cement will ensure that your insulation adheres well to the wood. 4. Fabric Covering To create a visually appealing finish, choose a breathable fabric like burlap, polyester, or acoustic fabric that enhances sound absorption. 5. Wood Finish If desired, use wood stain or paint to finish your wood panels for aesthetics. 6. Basic Tools A saw (hand saw or circular saw), a staple gun, scissors, a measuring tape, and a straight edge will also be necessary for this project.
Step-by-Step Instructions
1. Measure and Cut the Wood Start by determining the size of the acoustic panels you want to create. A common size is 2 feet by 4 feet, but feel free to adjust dimensions based on your space. Once you have your measurements, use a saw to cut the wood boards accordingly.
2. Prepare the Insulation Cut the acoustic insulation material to fit inside the wooden frame you've just created. It should be slightly smaller than the wooden frame to ensure it fits snugly without compression.
how to make acoustic wood panels

3. Attach the Insulation Apply adhesive to the back of the insulation material, then press it firmly against one side of the wood panel. Ensure that the insulation aligns well with the edges of the wood frame. Allow the adhesive to cure according to the instructions provided by the adhesive manufacturer.
4. Wrap the Panel in Fabric Once the insulation is securely attached and the adhesive has dried, lay the panel face down on a flat surface. Cut your chosen fabric to be several inches larger than the panel itself. Wrap the fabric around the edges and secure it on the back side of the panel using a staple gun. Make sure the fabric is tight to prevent sagging.
5. Finish the Wood (Optional) If you desire, you can stain or paint the edges of your wood panel to match your décor. Allow the finish to dry completely before proceeding.
6. Mounting the Panels Decide where you want to hang or mount your acoustic panels. Ensure they are positioned in areas where sound reflections are the most problematic, often on walls facing sound sources like speakers. Use wall anchors or brackets to securely mount the panels to the wall.
Final Thoughts
Congratulations! You have successfully created your acoustic wood panels. By following these steps, not only have you improved the sound quality of your space, but you've also added a personal touch to your interior design. Remember that the effectiveness of absorption is influenced by the quantity and placement of these panels as well as the acoustical properties of the room. Don’t hesitate to experiment with different placements and numbers of panels to achieve the best results for your auditory environment. Enjoy the enhanced sound experience!
