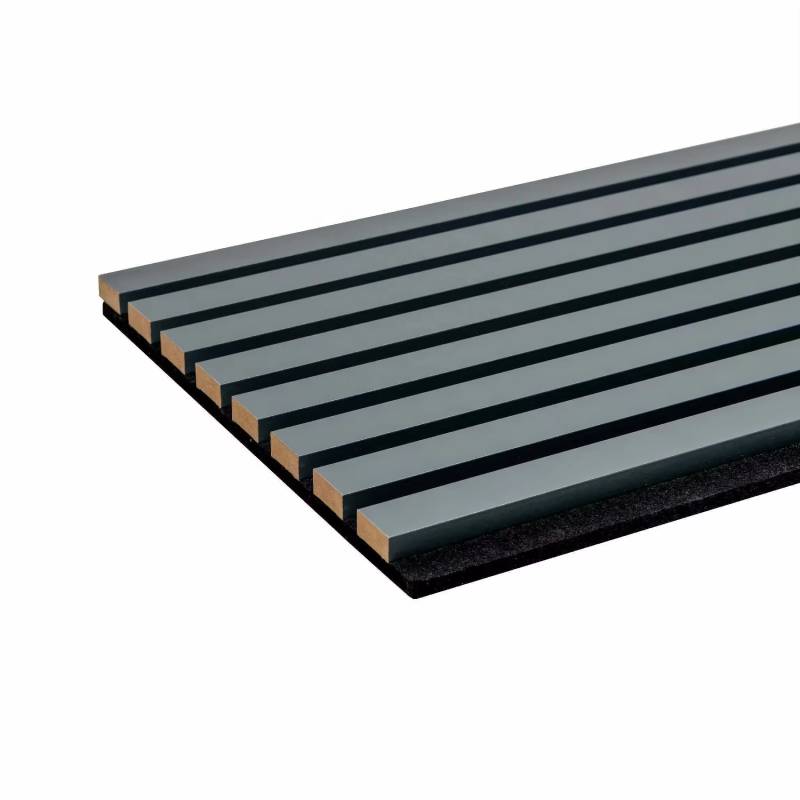
How to Make Acoustic Wood Panels
Acoustic wood panels are a popular choice for improving sound quality in various environments, including studios, theaters, and even residential spaces. These panels not only serve a functional purpose by absorbing sound, but they also add an aesthetic touch to any interior. If you’re interested in making your own acoustic wood panels, here’s a step-by-step guide to help you create effective and stylish sound absorbers.
Materials Needed
1. Wood Choose types of wood such as MDF, plywood, or solid wood. MDF is commonly preferred for its smooth surface and affordability. 2. Acoustic Foam This will be placed behind the wood to enhance the sound absorption properties. 3. Fabric Select a sound-permeable fabric that complements your decor. Common choices include burlap, polyester, or acoustic fabric. 4. Wood Glue Ensure a strong bond between the wood and foam. 5. Staple Gun This will be used to attach the fabric to the back of the wood panel. 6. Saw A circular saw or table saw to cut the wood to your desired size. 7. Drill For making holes if you plan to mount the panels on walls.
Step-by-Step Instructions
1. Determine Size and Design Decide on the dimensions of your panels based on the area you plan to cover. Common sizes range from 2x2 feet to 4x8 feet. Consider creating a pattern for multiple panels that can add visual interest.
2. Cut the Wood Using your saw, cut the wood to the desired dimensions. Always wear safety goggles and a mask to protect against dust.
3. Cut Acoustic Foam Cut the acoustic foam to the same size as your wood pieces. This foam will help absorb sound waves effectively.
how to make acoustic wood panels

4. Attach Acoustic Foam Apply wood glue evenly on one side of the wood panel and press the acoustic foam onto the glued surface. Ensure that it adheres firmly. Let it dry according to the glue manufacturer's instructions.
5. Prepare the Fabric Cut your chosen fabric to a size that extends several inches beyond the edges of the wood panel. This excess will allow for proper folding and stapling at the back.
6. Wrap the Panel Lay the fabric face down on a flat surface, place the wood panel (with the attached foam) face down on the fabric, and fold the fabric over the edges. Pull it snugly and staple it securely to the back of the panel, ensuring there are no wrinkles.
7. Finishing Touches Trim any excess fabric, leaving about an inch of overhang, and staple down any loose areas. If desired, you can add wooden battens on the back for added support and a professional finish.
8. Mounting the Panels Use a drill to create holes for mounting your panels on the walls, or simply use adhesive hooks for a no-fuss solution.
Conclusion
By following these steps, you can create your own acoustic wood panels that not only enhance sound quality but also elevate your space's aesthetic appeal. The versatility of wood, combined with effective acoustic properties of the foam, allows you to tailor these panels to your unique style and acoustic needs. Whether for a home theatre or a music studio, DIY acoustic panels are a rewarding project that significantly improves your audio experience.
