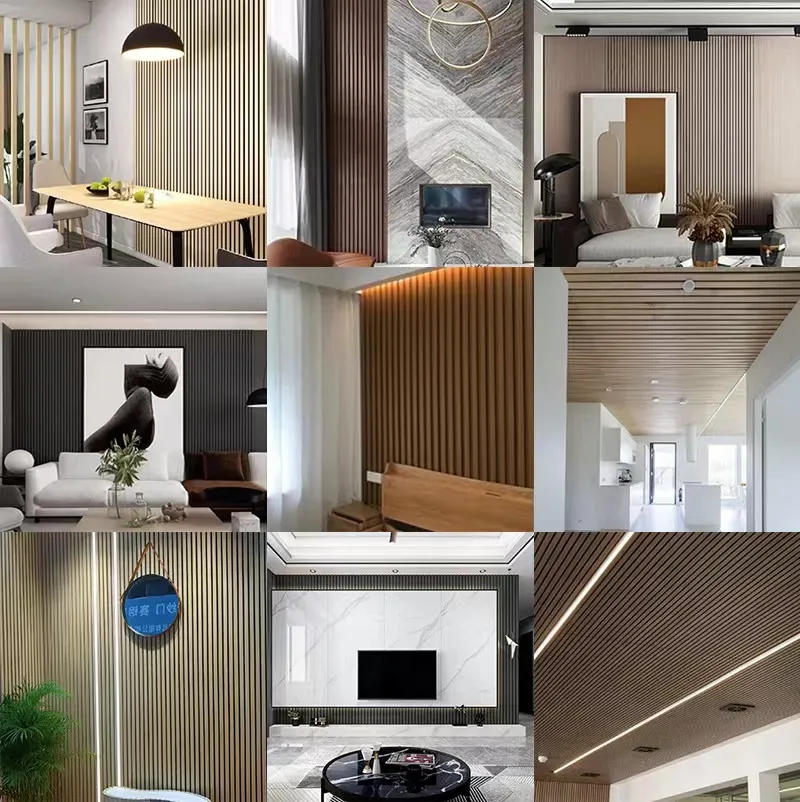
How to Make Acoustic Wood Panels
Creating acoustic wood panels at home is a fantastic way to enhance the sound quality in your space while adding a touch of aesthetic elegance. These panels are effective in absorbing sound, reducing echoes, and improving the overall acoustics in a room, making them a popular choice for home studios, offices, and entertainment areas. Below is a step-by-step guide on how to make your own acoustic wood panels.
Materials Needed
1. Wood Boards Choose plywood, MDF, or solid wood. The thickness can vary, but 1/2 inch to 1 inch is ideal for sound absorption. 2. Acoustic Foam or Insulation This material will be placed behind the wood to enhance sound absorption.
3. Wood Stain or Paint To finish your panels and match your décor.
4. Wood Glue or Screws For assembling the panels.
5. Frame Material Optional, but using a frame can add stability and enhance appearance, use 1x2 lumber.
6. Tools Circular saw, drill, measuring tape, sandpaper, and a staple gun.
Steps to Create Acoustic Wood Panels
how to make acoustic wood panels

1. Measure and Cut Wood Start by deciding the size of your panels. Common dimensions are 2' x 4' or 1' x 3'. Use a measuring tape to mark your wood boards and cut them to size using a circular saw.
2. Prepare Acoustic Foam Cut the acoustic foam or insulation to fit the dimensions of your wood panels. The foam should be slightly smaller than the wood to prevent it from being visible.
3. Assemble the Panels If you’re using a frame, cut the 1x2 lumber to create a rectangle that matches the dimensions of your wood. Attach it to the back of the wood panel using wood glue or screws. If not using a frame, directly glue or screw the foam to the back of the wood panel.
4. Finish the Wood Sand the edges of your wood panels to ensure a smooth finish. Apply wood stain or paint as desired, allowing it to dry completely before moving on to the next step.
5. Attach Foam Once the finish is dry, securely attach the acoustic foam to the back using adhesive or a staple gun.
6. Installation Decide where to hang your panels. Locations such as walls opposite each other, the corners of rooms, or ceiling areas can greatly benefit from the sound absorption. Use wall anchors or brackets for secure mounting.
Final Touch Once installed, step back and enjoy the transformation in your space's acoustics. Not only do these panels improve sound clarity, but they also add a stylish element to your room décor.
By following these steps, you can create beautiful and functional acoustic wood panels that enhance your environment both acoustically and visually. Enjoy the process and the added comfort they bring to your space!
