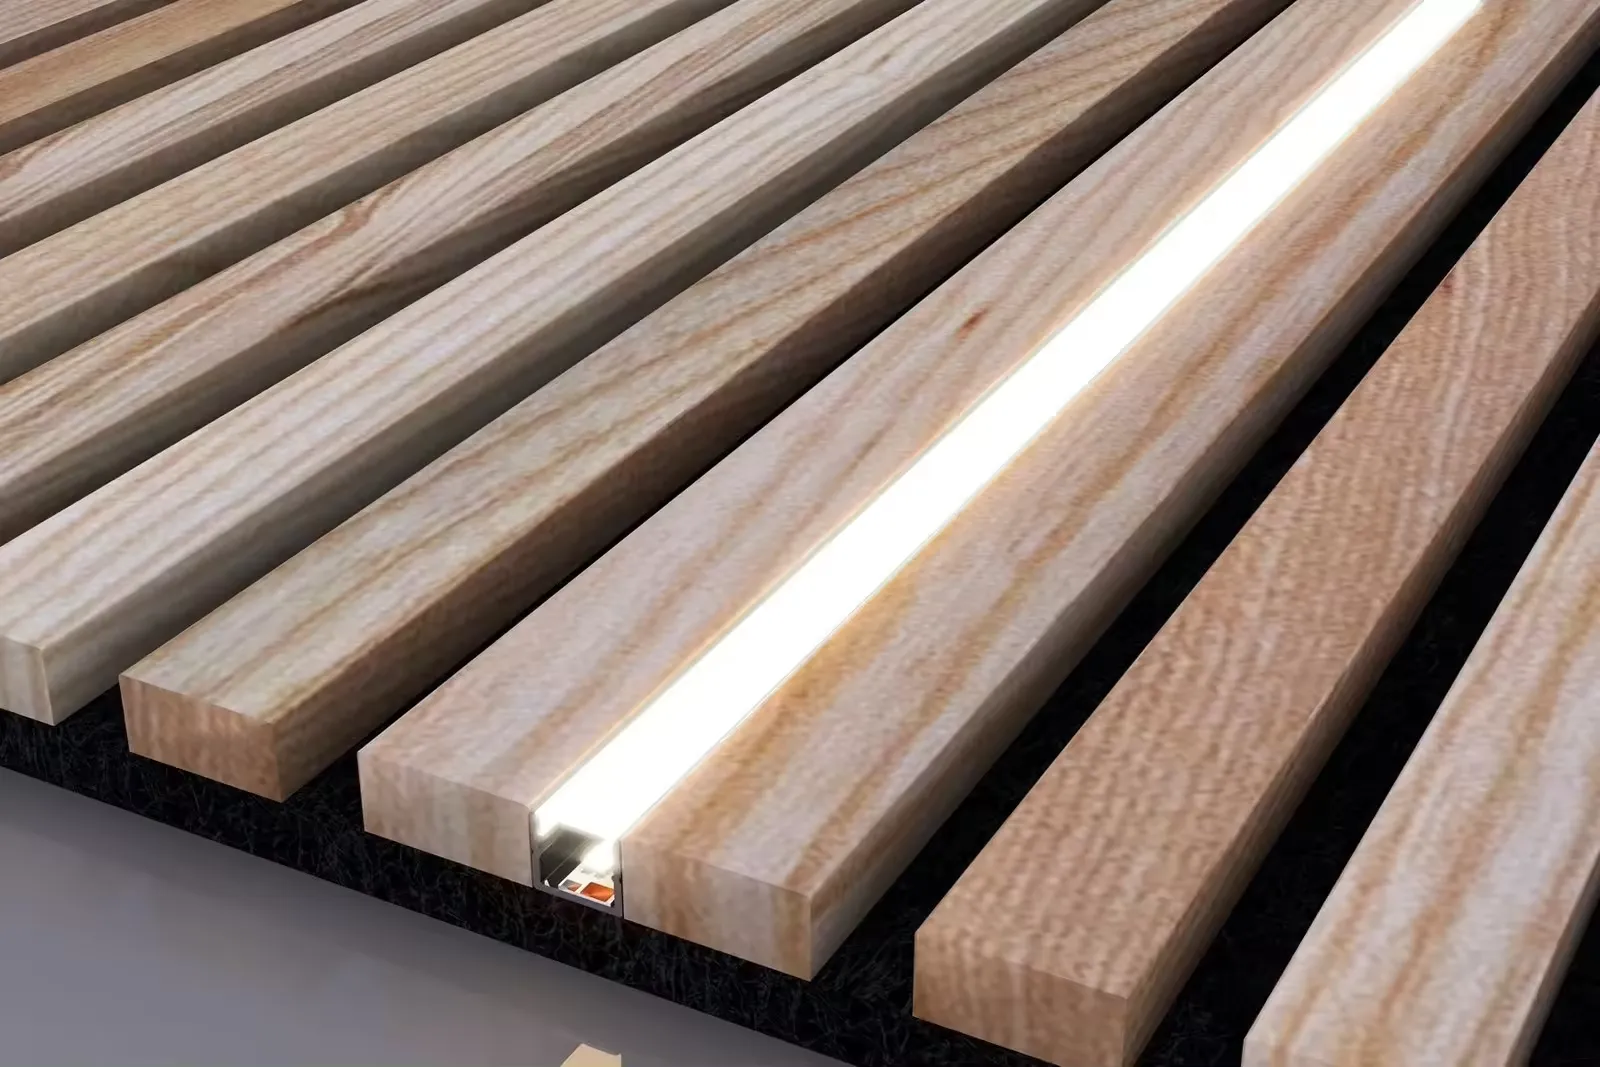
How to Make Acoustic Wall Panels
Acoustic wall panels are an effective way to manage sound in any environment, whether it's a home theater, a recording studio, or even a busy office. These panels can help reduce echo and noise, creating a more pleasant acoustic environment. If you're interested in making your own acoustic wall panels, this guide will walk you through the process step-by-step.
Materials Needed
To begin, gather the required materials
1. Fiberboard or insulation Acoustic fiberglass or foam is highly effective but dense mineral wool or rock wool can also work well for sound absorption. 2. Fabric Choose breathable fabric that will allow sound to pass through. Common choices include burlap, polyester, or even acoustic fabric for a professional finish. 3. Wood frame Use 1x3 or 1x4 boards to build a frame for your panel. 4. Staple gun For attaching the fabric to the frame. 5. Screws and drill To secure the frame. 6. Acoustic caulk (optional) To seal edges for additional soundproofing. 7. Paint or wood stain (optional) If you want to finish the wooden frame.
Step-by-Step Process
1. Determine the Size
Firstly, decide on the dimensions of your acoustic panel. The size can vary depending on the space and how many panels you want to create. Common sizes range from 2x4 feet to 4x8 feet.
2. Build the Frame
Using the wood boards, construct a rectangular frame for your panel. Use screws and a drill to secure the corners firmly. The frame should be sturdy enough to hold the insulation material securely.
3. Cut the Insulation Material
Next, cut your chosen acoustic material (fiberboard or foam) to fit snugly inside the frame. Make sure there are no gaps as this can diminish the panel's effectiveness.
how to make acoustic wall panels

4. Assemble the Panel
Place the insulation into the frame. If you're using dense material, make sure it fits tightly to avoid vibrational noise. Optionally, apply acoustic caulk to the edges before placing the backing to enhance soundproofing.
5. Cover with Fabric
Cut the fabric to extend about 3 to 4 inches beyond the edges of the frame to ensure you can wrap it around and staple it securely. Lay the fabric over the frame and insulation, then pull it tight. Use the staple gun to attach the fabric to the back of the frame, ensuring that the fabric is smooth and taut across the front.
6. Secure the Edges
Fold the edges of the fabric neatly and staple them down. Take care to ensure the fabric doesn’t bunch up, which can affect the appearance of your panel.
7. Finishing Touches
If you wish, you can paint or stain the wooden frame to match your décor. This step is optional but adds a professional touch to your panels.
8. Mount the Panels
Finally, decide where to install your acoustic panels. It’s ideal to hang them at first reflection points in a room. Use wall anchors or brackets for secure installation, ensuring each panel is mounted straight and level.
Conclusion
Creating your own acoustic wall panels can be a rewarding project that enhances your living or working environment. By following these steps, you can produce effective sound-absorbing panels tailored to your specific needs. Not only will you improve acoustics, but you’ll also add a personal touch to your space with customized finishes and designs. Remember that effective placement is key to maximizing their benefits, so take the time to plan out your panel layout carefully. Enjoy your quieter, more pleasant acoustic spaces!
