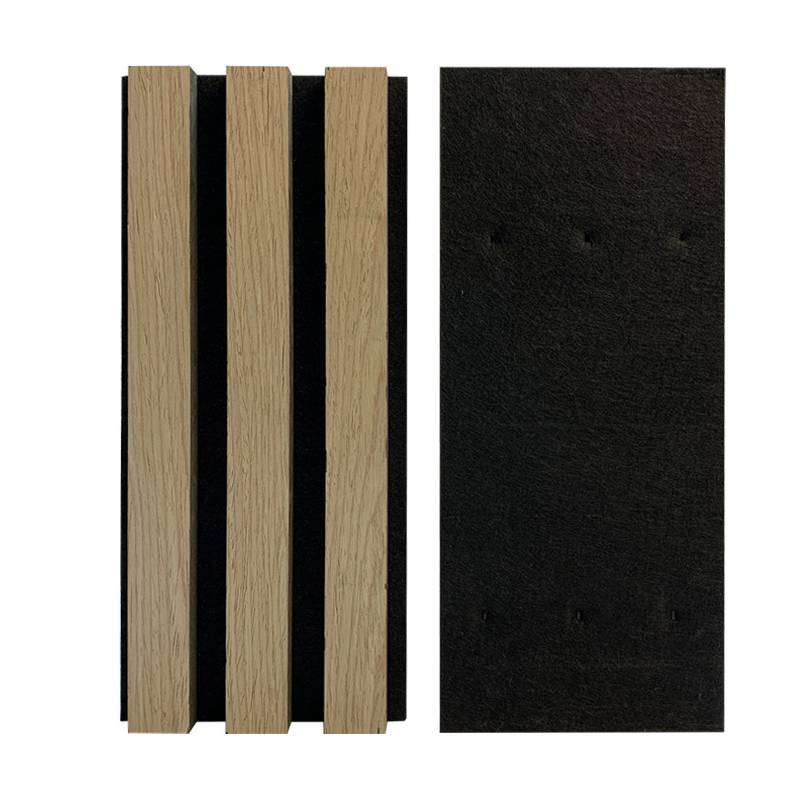
How to Make Acoustic Panels for Walls
Creating an effective and aesthetically pleasing environment often requires attention to sound quality. This is particularly true in spaces dedicated to music, recording, or even home theaters. Acoustic panels are an excellent solution for mitigating sound reflections, enhancing sound clarity, and reducing noise levels. In this guide, we will walk you through the process of making your own acoustic panels for walls, combining functionality with creativity.
Understanding Acoustic Panels
Before starting the project, it’s essential to understand what acoustic panels are and how they work. These panels are typically made from sound-absorbing materials that reduce echo and reverberation in a room. They come in various forms and sizes and can be customized with different fabrics and colors to match your existing decor.
Materials Needed
To build your acoustic panels, you’ll need the following materials
1. Acoustic Foam or Mineral Wool These materials are effective in absorbing sound. Acoustic foam is available in different thicknesses and can be found in pre-cut shapes like wedges or pyramids. Mineral wool, on the other hand, is more eco-friendly and offers excellent sound absorption.
2. Wood Frame Use wood, such as pine or plywood, to create the frame for your panels. The size of the frame will determine the dimensions of your panel.
3. Fabric Covering Choose a breathable fabric that complements your space. Cotton or burlap works well, allowing sound to pass through while still looking attractive.
4. Adhesive or Staple Gun These will be needed for securing the fabric to the frame.
5. Wood Screws For assembling the frame.
6. Staples or Tacks To attach your acoustic material to the frame.
how to make acoustic panels for walls

7. Saw, Drill, and Measuring Tape For cutting the wood and assembling the frames.
Step-by-Step Instructions
Step 1 Measure and Cut the Wood Decide on the dimensions of your acoustic panels. Standard sizes are typically 2 feet by 4 feet or 1 foot by 2 feet. Use a measuring tape to mark the cuts on the wood and then use a saw to cut the pieces accordingly. You will need four pieces for each frame two vertical and two horizontal.
Step 2 Assemble the Frame Lay the cut pieces on a flat surface to form a rectangle. Secure them together using wood screws at each corner, ensuring that everything is tightly fitted. This frame will support the acoustic material and give the panel rigidity.
Step 3 Cut the Acoustic Material Cut your acoustic foam or mineral wool to fit within the frame. Make sure it fits snugly but does not bulge out. If you're using mineral wool, wear a mask and gloves to protect yourself from irritation.
Step 4 Attach the Acoustic Material to the Frame Using a staple gun or adhesive, carefully attach the acoustic material to the inside of the wooden frame. Ensure that it is evenly distributed and covers the entire area without gaps.
Step 5 Cover with Fabric Cut your chosen fabric to size, allowing a few extra inches around each edge. Place the fabric over the frame and acoustic material, pulling it taut, and staple it on the backside of the frame. This will secure the fabric and create a clean finish.
Step 6 Mounting Your Panels Determine the best locations for your panels to maximize sound absorption. Common placements include areas where sound reflections are most problematic, such as directly across from sound sources or points where sound tends to bounce. You can use brackets, screws, or adhesive strips to mount your panels on the walls.
Final Touches
Consider adding a few decorative elements, such as corner trims or even artwork on the panels, to integrate them seamlessly into your decor. You may also want to experiment with different configurations to see which layout best improves the acoustic quality of your space.
Conclusion
Making your own acoustic panels can be a rewarding project that significantly enhances the sound quality of your rooms. With some basic carpentry skills and a bit of creativity, you can create functional art that makes your environment more enjoyable. Whether for a home theater, recording studio, or simply a quieter living room, acoustic panels are a valuable addition to any space. Happy building!
-
Waterproof Dog Blankets for Indoor and Outdoor UseNewsAug.01,2025
-
Sustainable Wool Cat Beds Eco-Friendly Choices for Pet OwnersNewsAug.01,2025
-
Snuffle Ball Benefits for Dogs Mental Stimulation and ExerciseNewsAug.01,2025
-
Puppy Treat Puzzles as Social Tools Fostering Bonding Through PlayNewsAug.01,2025
-
Custom Wooden Pet Houses Tailored to Your Pet’s PersonalityNewsAug.01,2025
-
Corrosion Resistance in Environments: A Guide for Washer Hose ClampsNewsAug.01,2025
