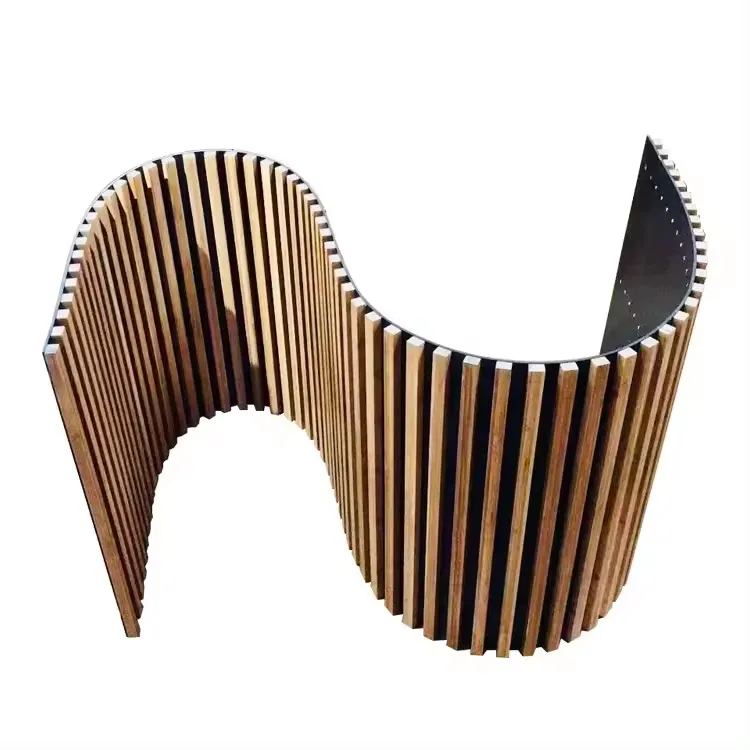
How to Make Acoustic Panels for Walls
If you are looking to improve the sound quality in a room, whether it's a home theater, a music studio, or simply your living room, creating your own acoustic panels can be an effective solution. Acoustic panels help absorb sound, reducing echo and background noise, providing a more pleasant auditory experience. In this article, we will explore how to make acoustic panels for your walls step by step.
Materials Needed
To create your own acoustic panels, you will need the following materials
1. Sound-absorbent material This can be fiberglass insulation board, mineral wool, or foam panels specifically designed for sound absorption. 2. Frame material You can use wooden boards (e.g., 1x4 or 1x6 boards) to construct the frame. If you prefer a lightweight option, PVC pipes can also be used. 3. Fabric Choose breathable fabric such as burlap, cotton, or polyester. The fabric should allow sound waves to pass through while still looking aesthetically pleasing. 4. Adhesive or staples You'll need a strong adhesive or staples to secure the fabric to the frame. 5. Wood screws If you are making a wooden frame, screws will help secure the corners. 6. Acoustic sealant (optional) This can be used to seal the edges of the panels for better sound absorption.
Step-by-Step Instructions
Step 1 Determine Panel Dimensions
Before you start building, decide on the dimensions of your panels. Common sizes are 2x4 feet or 2x2 feet, but this depends on your space and the amount of sound absorption you need. Measure the wall area where you plan to hang the panels to determine how many you will need.
Step 2 Build the Frame
Using your frame material, cut the boards to create the perimeter of the panel. If you are making a rectangular panel, you will need four pieces—two for the length and two for the width. Secure the corners using wood screws to create a sturdy frame. If you're using PVC pipes, connect them using the appropriate joints to create the desired shape.
how to make acoustic panels for walls

Step 3 Cut the Sound Absorbent Material
Measure and cut your sound-absorbent material to fit snugly inside the frame. Ensure that the materials are slightly smaller than the inside dimensions of the frame for a better fit.
Step 4 Attach the Sound Absorbent Material
Once the sound-absorbent material is cut to size, place it inside the wooden frame. If you're using fiberglass or mineral wool, consider wearing gloves and a mask to avoid any irritation. Use adhesive or staples to keep the material in place, ensuring it fits securely within the frame.
Step 5 Cover with Fabric
Next, lay your chosen fabric face down on a flat surface. Place the frame with the sound-absorbent material on top of the fabric. Pull the fabric tight over the edges of the frame and staple or glue it down on the back. Make sure the fabric is taut and smooth on the front side to maintain a clean appearance.
Step 6 Install the Panels
Once the panels are constructed, it's time to install them on the walls. You can hang them using picture hangers, screws, or mounting brackets. Ensure that they are positioned at ear level for optimal sound absorption. Consider placing them in key areas like corners and first reflection points to maximize their effectiveness.
Conclusion
Making your own acoustic panels is a rewarding project that can significantly enhance your listening experience. By following these steps, you can create aesthetically pleasing panels that not only improve sound quality but also add a decorative touch to your space. With a little time and effort, you will have a room that sounds as good as it looks!
