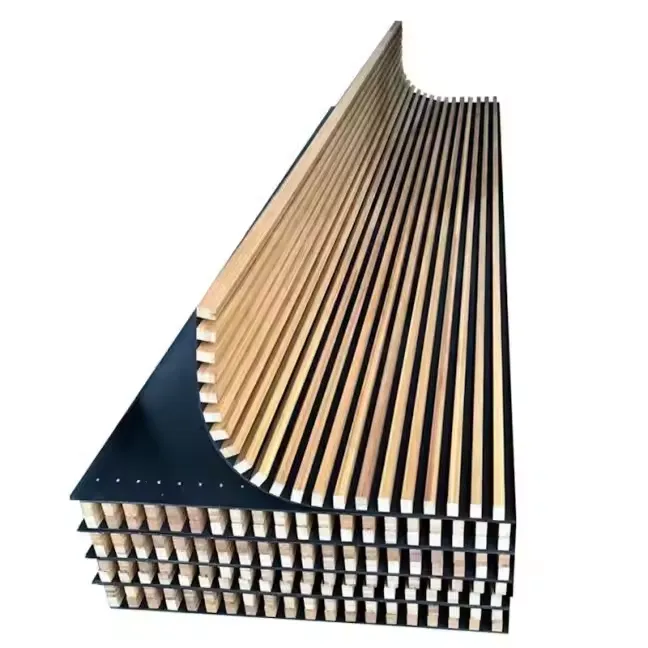
How to Make Acoustic Panels for Your Home Studio
Creating an effective home studio often hinges on how well you can control sound. Whether you're recording music, podcasting, or streaming, minimizing unwanted noise and managing sound reflection is key. One of the most effective ways to achieve this is through acoustic panels. In this article, we’ll guide you on how to make your own acoustic panels for your home studio.
Materials Needed
To get started, you'll need the following materials 1. Acoustic Foam or Fiberglass Insulation These materials absorb sound waves effectively. Acoustic foam panels are readily available, but if you're looking for a cost-effective solution, fiberglass insulation works well too. 2. Wood Frame or Mounting Board This will serve as the backing for your acoustic panels. Plywood or MDF (medium-density fiberboard) are sturdy options. 3. Fabric Choose a breathable fabric such as burlap or any other sound-permeable material to cover the panels. Ensure it complements your studio's aesthetics. 4. Staples and Staple Gun These will be used to attach the fabric to the frame. 5. Spray Adhesive (optional) This helps secure the insulation to the backboard. 6. Saw and Drill Necessary for cutting the wood to size and assembling the frame.
Step-by-Step Instructions
1. Determine the Size and Quantity Before you begin, assess your studio space. Identify where sound issues are most pronounced, and decide how many panels you'll need. A common size for acoustic panels is 2 feet by 4 feet, but you can customize this based on your space and needs.
2. Build the Frame Cut your wood to the desired dimensions using a saw. Assemble the frame using screws or nails. If you're using a plywood or MDF back, ensure it's well-secured to rigidly hold the insulation.
how to make acoustic panels for home studio

3. Cut the Acoustic Material If you’re using fiberglass insulation, cut it to fit snugly inside the frame. Leave a slight gap for the fabric to cover the edges neatly.
4. Attach the Acoustic Material Use the spray adhesive (if applicable) to stick the acoustic material to the backboard or frame. Press firmly to ensure an even bond.
5. Cover with Fabric Lay the fabric over the acoustic material, wrapping it around to the back. Use a staple gun to secure the fabric in place, stretching it slightly for a smooth finish. Make sure the fabric is pulled tightly to avoid sagging.
6. Mount the Panels Decide on the placement of your panels. Common spots include corners and walls opposite to each other. You can hang them using wall-mounted brackets or simply attach them directly to the wall with screws.
Final Touches
Once your panels are installed, step back and assess the sound quality in your studio. You might notice a significant reduction in echo and improvement in overall sound clarity. Adjust the positioning of your panels as needed until you achieve the desired acoustic environment.
In summary, creating your own acoustic panels is a rewarding DIY project that can greatly enhance the sound quality in your home studio. With some basic materials and a bit of effort, you can transform your space into an acoustically optimized environment perfect for your audio needs. Happy building!
