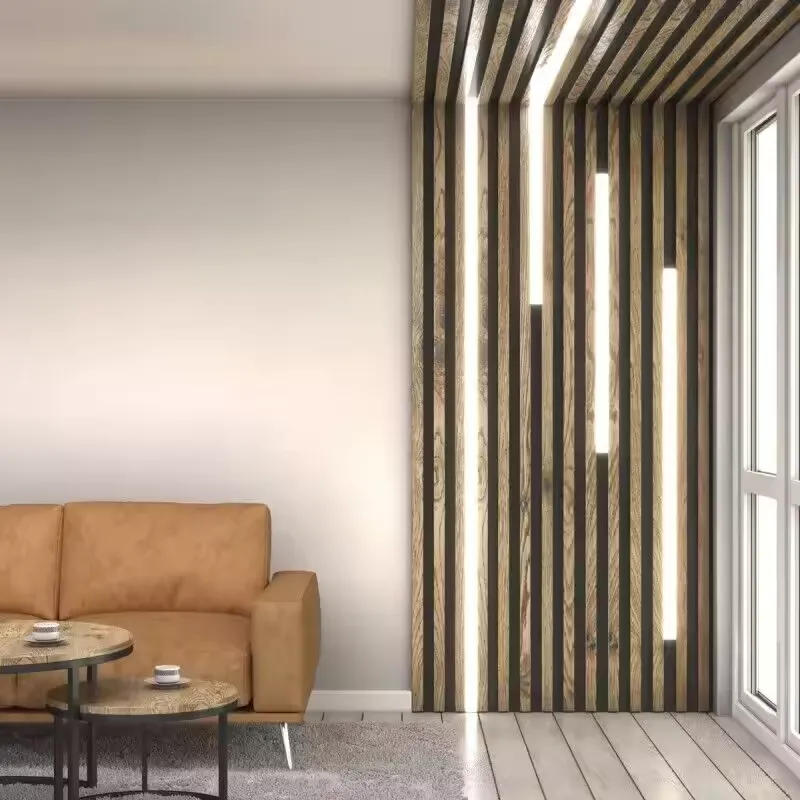
How to Make Acoustic Wood Panels
Acoustic wood panels are an excellent way to enhance sound quality in any space, whether it be a recording studio, home theater, or a busy office. They help reduce unwanted noise and improve the acoustics of a room by absorbing sound waves. Making your own acoustic wood panels can be a rewarding DIY project that not only beautifies your space but also enhances its functionality. Here’s a step-by-step guide to help you create your own acoustic wood panels.
Materials Needed
1. Wood Boards Select types of wood that are known for their acoustic properties, such as plywood or MDF. 2. Acoustic Foam This will be used to line the interior of your panels to absorb sound effectively. 3. Fabric Choose a breathable fabric that complements your décor while allowing sound to pass through. 4. Wood Glue To assemble the frames of the panels. 5. Staple Gun For securing the fabric. 6. Saw A miter saw or circular saw for cutting wood to size. 7. Measuring Tape For precise measurements. 8. Sandpaper To smooth out the edges of the wood.
Step-by-Step Instructions
1. Measure and Cut the Wood Determine the dimensions you want for your panels. Cut the wood boards to your desired size, ensuring that you have four pieces for the frame of each panel.
2. Assemble the Frame Use the wood glue to connect the pieces of the frame. Ensure each corner is square and let the glue dry. For added strength, you can use screws or brackets.
how to make acoustic wood panels

4. Insert the Foam Place the acoustic foam inside the wooden frame. If desired, apply a thin layer of wood glue to keep it in place.
5. Wrap the Frame Cut a piece of fabric large enough to wrap around the frame. Lay the frame face down, place the fabric over it, and pull it taut. Use a staple gun to secure the fabric to the back of the frame, folding the edges neatly.
6. Finish the Edges Trim any excess fabric and ensure the edges are secure to maintain a clean appearance.
7. Mounting the Panels Finally, decide where you’ll hang the panels. Use appropriate hanging hardware to mount them securely on walls, optimizing their effectiveness in sound absorption.
With these simple steps, you’ll not only enjoy better acoustics but also add a touch of elegance to your space with your custom-made acoustic wood panels. Happy crafting!
