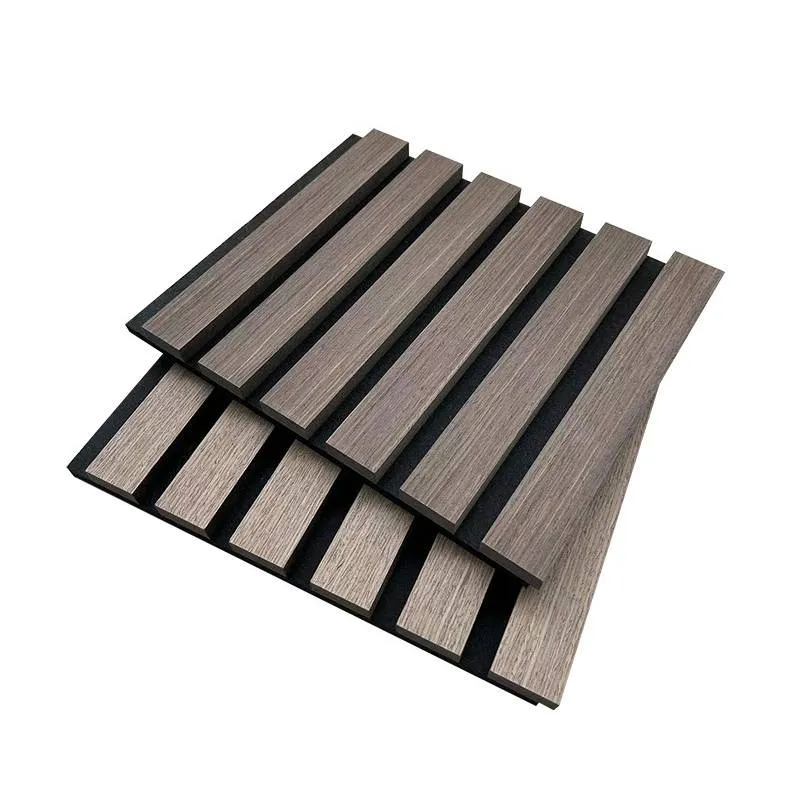
Building Sound Panels A Comprehensive Guide
In the modern world, noise pollution has become a significant concern for many individuals, especially those living in urban environments. Whether it’s the honk of cars, the chatter of crowds, or the constant buzz of machinery, excess noise can lead to stress, reduced productivity, and a general decrease in quality of life. One effective solution to combat this issue is the construction of sound panels. In this article, we’ll explore the purpose of sound panels, the materials needed, and the steps to create your own.
What Are Sound Panels?
Sound panels, commonly referred to as acoustic panels, are designed to absorb sound waves and reduce noise levels in a room. They are typically used in various settings, including homes, studios, offices, and public spaces. By minimizing echoes and improving sound clarity, sound panels enhance the acoustics of any environment. They are particularly useful in home theaters, recording studios, and conference rooms where sound quality is paramount.
Materials Needed
Building your own sound panels doesn’t have to be costly or complicated. Below is a list of commonly used materials
1. Acoustic Foam or Insulation Panels These are specifically designed to absorb sound waves. Fiberglass insulation is a popular choice for its effective noise-dampening properties.
2. Wooden Frames Using wood such as plywood or MDF (Medium Density Fiberboard) can provide a sturdy frame for your sound panels.
3. Fabric Aesthetically pleasing fabric can be used to cover the panels. Look for materials that are thick and dense to maximize sound absorption, such as burlap or polyester.
4. Staple Gun and Staples A staple gun is essential for attaching the fabric to the wooden frames.
5. Adhesive Strong adhesive is necessary for securing the acoustic foam to the frame.
6. Mounting Hardware Brackets or wall anchors will be needed for mounting the panels onto walls.
Step-by-Step Guide to Building Sound Panels
Step 1 Measure Your Space
Before you begin, evaluate the area where you plan to place the sound panels. Identify the dimensions of the wall and decide how many panels you will need. Larger or more reflective surfaces will require more coverage.
building sound panels

Step 2 Construct the Frame
Cut your wooden boards to the desired size, ensuring they fit well within the room. Typically, panels are a few inches thick to accommodate the insulation. Assemble the frame using wood glue or screws for added stability.
Step 3 Cut the Acoustic Foam
Measure and cut the acoustic foam to fit snugly within the frame. Make sure to wear a mask to avoid inhaling dust particles during cutting.
Step 4 Assemble the Panel
Using your adhesive, attach the foam to the inside of the wooden frame. Ensure it is firmly secured before moving on to the next step.
Step 5 Cover with Fabric
Lay your fabric down flat and place the wooden frame with the attached foam on top of it. Pull the fabric tightly around the frame and secure it with a staple gun. Make sure to keep the fabric taut to avoid wrinkles and ensure a professional look.
Step 6 Install Mounting Hardware
Attach the necessary mounting hardware to the back of the panel. This will allow you to easily hang the panels on the wall.
Step 7 Hang the Panels
Finally, position your new sound panels on the walls where noise reduction is most needed. You may want to arrange them strategically to maximize their effectiveness, focusing on areas where sound bounces back the most.
Conclusion
Building sound panels can greatly enhance the acoustics of any space, transforming environments into peaceful retreats. With just some basic materials and a little effort, you can create an atmosphere that allows for improved concentration, enjoyment of music, or simply a quieter living space. Investing time in this DIY project is not just beneficial for reducing noise; it’s a step toward cultivating a more serene and comfortable environment for yourself and others.
