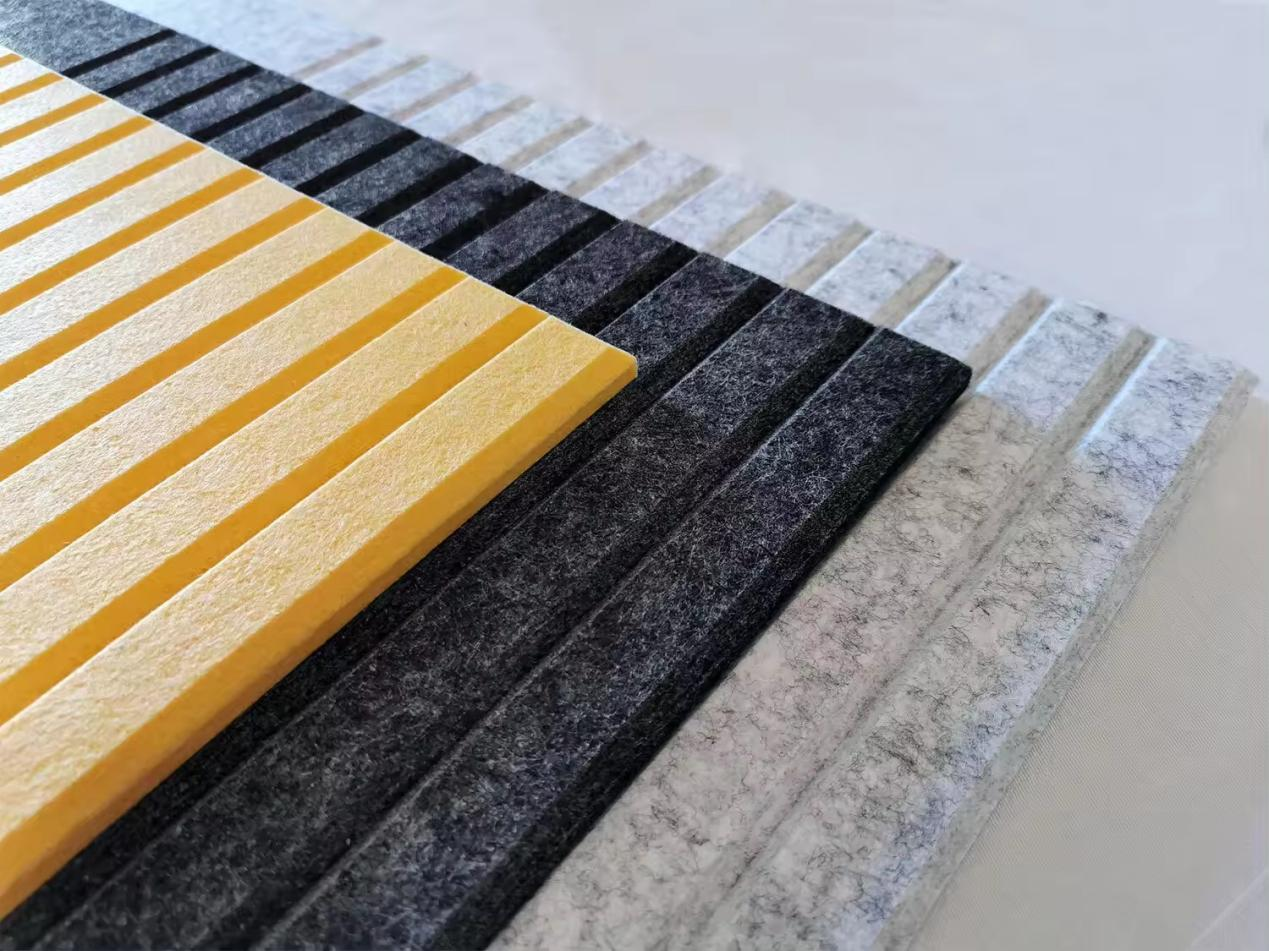
Building Acoustic Panels A Comprehensive Guide
In today's world, where noise pollution is a prevalent issue, the significance of sound management has never been more crucial. Whether in homes, offices, or public spaces, effective acoustic solutions can enhance comfort, focus, and overall quality of life. One of the most popular and effective methods for controlling sound in a room is through the use of acoustic panels. This article will guide you through the essentials of building your own acoustic panels.
Understanding Acoustic Panels
Acoustic panels are designed to absorb sound, thereby reducing reverberation and echoes in a room. They can be made from various materials, including foam, fabric-wrapped fiberglass, or mineral wool. The choice of material influences the panel's effectiveness and aesthetics.
Why Build Your Own Acoustic Panels?
While pre-manufactured acoustic panels are available on the market, building your own offers several advantages. First, it allows for customization in terms of size, shape, and design to match your specific needs and décor. Second, it can be a more cost-effective solution, especially for larger spaces. Additionally, DIY projects provide an opportunity to imbue your personal style into the materials used.
Materials Needed
To build your own acoustic panels, you will need
1. Acoustic Absorbing Material Options include fiberglass insulation, rockwool, or acoustic foam. Each material has its pros and cons, particularly regarding density and absorption ratings. 2. Frame You can use wood to create a frame for the panels. Plywood or MDF (Medium Density Fiberboard) can both be good choices.
3. Fabric Covering A breathable fabric is essential to cover the panels. Lightweight materials like burlap, cotton, or specialized acoustic fabric allow sound waves to penetrate while providing a finished look.
4. Adhesive or Stapler Use spray adhesive or a staple gun to attach the fabric to the frame and the absorptive material.
building acoustic panels

Step-by-Step Guide
1. Determine Your Needs Assess the room where you will place the acoustic panels, noting areas with excessive echo or noise. This assessment will inform the amount and positioning of the panels.
2. Measure and Cut the Frame Based on your measurements, cut the wood to the desired size for the frame. Typically, 2x4 inches is standard for strength.
3. Assemble the Frame Join the wood pieces at the corners using screws or nails to form a rectangle or square.
4. Cut the Absorbing Material Cut your chosen acoustic material to fit snugly within the wooden frame.
5. Attach the Absorbing Material Secure the material inside the frame using adhesive or staples.
6. Cover with Fabric Lay your fabric over the front of the assembled panel, ensuring that it is smooth and taut. Fix the fabric to the frame with a staple gun or adhesive on the backside.
7. Finishing Touches Trim any excess fabric, and make sure all edges are tidy. You can also paint or decorate the wood frame to enhance its appearance.
8. Installation Decide where to mount the panels. For the best sound absorption, position them at first reflection points, typically on the side walls, behind speakers, or ceilings.
Conclusion
Building your own acoustic panels can be a rewarding project that significantly improves the acoustic quality of your space. With the right materials, a bit of craftsmanship, and careful planning, you can create one-of-a-kind solutions tailored to your sound management needs. By controlling sound effectively, you contribute to a more serene, focused, and enjoyable environment, enhancing productivity and comfort in your home or workspace.
