
How to Make Acoustic Panels for Walls
Acoustic panels are a fantastic way to enhance the sound quality in any room. They reduce noise, prevent echoes, and improve the overall acoustics of a space. Making your own acoustic panels can be a cost-effective and gratifying project. Here’s how you can create acoustic panels for your walls in just a few steps.
Materials Needed
Before you start, gather the following materials - Fiberglass or foam board These are your primary sound-absorbing materials. Fiberglass is more effective, but foam is lighter and easier to handle. - Wood frame Create a wooden frame using plywood or any sturdy wood. This will serve as the structure for your panels. - Fabric You’ll need a breathable fabric that complements your room’s decor. Use materials like burlap, cotton, or polyester that allow sound to pass through easily. - Adhesive spray or glue For attaching the fabric to the panel. - Staple gun This is useful for securing the fabric tightly around the edges of the panel. - Hanging hardware Choose screws, brackets, or picture hangers for mounting the panels on the wall.
Step-by-Step Instructions
1. Measure and Cut the Frame Determine the size of the acoustic panels you want. Common sizes are 2x4 or 2x2 feet. Cut the wood pieces to size based on your measurements. Assemble the pieces into a rectangular or square frame using wood glue and screws.
2. Cut the Sound Absorbing Material Once your frame is complete, measure and cut the fiberglass or foam board to fit snugly inside the frame. It’s important that the material fits well so there are no gaps, as these could affect sound absorption.
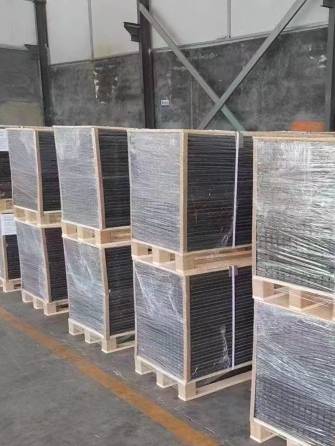
how to make acoustic panels for walls
3. Assemble the Panel Place the sound-absorbing material into the wooden frame. Ensure it fits tightly without any significant pressure that could distort the shape.
4. Cover with Fabric Cut your chosen fabric so that it extends beyond the edges of the frame. Lay the fabric on a flat surface, place the frame with the sound-absorbing material face down, and then fold the fabric over the frame edges. Use a staple gun to secure the fabric to the back of the frame. Make sure it is tight and smooth to avoid wrinkles, which can distort sound absorption.
5. Finishing Touches Trim any excess fabric for a clean look. If you desire, you can paint the wooden frame to match your room's decor or leave it natural for a rustic feel.
6. Install the Panels Decide where you wish to hang your acoustic panels. They are typically most effective when placed at first reflection points in a room. Use a stud finder to locate the best place to anchor the panels securely on the wall using your chosen hanging hardware.
Conclusion
Creating acoustic panels is a simple DIY project that can significantly enhance the sound quality of your space. With the right materials, you can customize the look and effectiveness according to your needs. Whether it’s for a home theater, studio, or just a quieter room, acoustic panels are a practical solution to noise control. Once your panels are up, enjoy the improved acoustics and comfort in your environment!
-
Stylish Acoustic Solutions for Every SpaceNewsApr.24,2025
-
Sound Absorbing Art for Your SpaceNewsApr.24,2025
-
Quick and Easy Soundproofing SolutionsNewsApr.24,2025
-
Innovative Acoustic Solutions for Modern SpacesNewsApr.24,2025
-
Effective Soundproofing Solutions for Your SpaceNewsApr.24,2025
-
Effective Acoustic Solutions with Felt PanelsNewsApr.24,2025