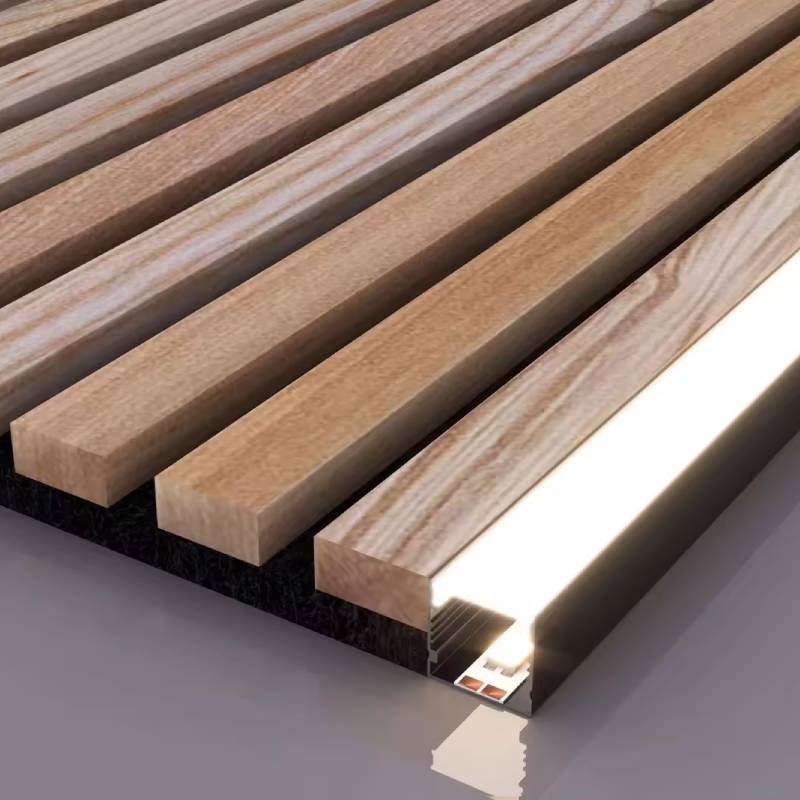
How to Make Cheap Sound Absorbing Panels
In today's world, noise pollution has become a common problem, whether it’s the sound of street traffic, noisy neighbors, or the echo of a large room. If you're looking to create a quieter and more comfortable environment without breaking the bank, sound absorbing panels can be an effective solution. Fortunately, making your own cheap sound absorbing panels is not only budget-friendly but also a fun DIY project. Here’s a step-by-step guide on how to create your own.
Materials Needed
To get started, you will need a few essential materials 1. Fiberglass insulation or acoustic foam These are the primary materials needed for sound absorption. Fiberglass insulation batts or sheets are often more affordable and can be found at home improvement stores. 2. Fabric This will be used to cover the panels. Look for thick materials like canvas, cotton, or burlap that can help absorb sound. 3. Wood or cardboard This will serve as the backing for your panels. Plywood or cardboard can work, but wood will provide better durability. 4. Staples or glue To secure the fabric to the backing and hold everything in place. 5. Scissors or a utility knife For cutting materials.
Step 1 Determine the Size of the Panels
Before you begin, decide on the size and number of panels you want to create. A standard size for sound panels is 2 feet by 4 feet, but you can adjust this based on your space and needs. Measure and mark the dimensions on your backing material (wood or cardboard) using a pencil.
Step 2 Cut the Backing Material
Using your scissors or utility knife, carefully cut along the marked lines to create the individual panels. Ensure the edges are straight for a professional finish.
Step 3 Prepare the Sound Absorbing Material
how to make cheap sound absorbing panels

If you are using fiberglass insulation, cut it to fit the dimensions of your panels. This material will be placed directly onto the backing and serve as the primary sound absorber. If you are using acoustic foam, you can use the same dimensions as your backing.
Step 4 Cover the Panels with Fabric
Lay the fabric down on a flat surface, then place your backing material (with the sound-absorbing material attached) onto the fabric. Make sure the fabric is big enough to wrap around the edges of the backing. Pull the fabric tightly over the edges of the backing and secure it with staples or glue. Start from the center and work your way out to prevent wrinkles.
Step 5 Install the Panels
Once you have finished covering the panels, it's time to install them. Determine where you want to place the panels for the best sound absorption, typically on walls that face noise sources or in the corners of the room. Use mounting adhesive, screws, or brackets to secure the panels to the wall. Ensure they are positioned at least a few inches off the wall to increase their effectiveness.
Step 6 Enjoy the Reduced Noise Levels
After installing your sound absorbing panels, you should notice a significant reduction in echo and noise levels within the room. This DIY project not only enhances the acoustics of your space but also adds a personalized touch to your home or studio.
Conclusion
Creating your own sound absorbing panels is an excellent way to reduce noise and improve the acoustic quality of a room without spending a fortune. With just a few materials and some creativity, you can effectively turn any noisy space into a quieter and more enjoyable environment. So gather your supplies, set aside some time, and get started on this rewarding DIY project!
-
Waterproof Dog Blankets for Indoor and Outdoor UseNewsAug.01,2025
-
Sustainable Wool Cat Beds Eco-Friendly Choices for Pet OwnersNewsAug.01,2025
-
Snuffle Ball Benefits for Dogs Mental Stimulation and ExerciseNewsAug.01,2025
-
Puppy Treat Puzzles as Social Tools Fostering Bonding Through PlayNewsAug.01,2025
-
Custom Wooden Pet Houses Tailored to Your Pet’s PersonalityNewsAug.01,2025
-
Corrosion Resistance in Environments: A Guide for Washer Hose ClampsNewsAug.01,2025
