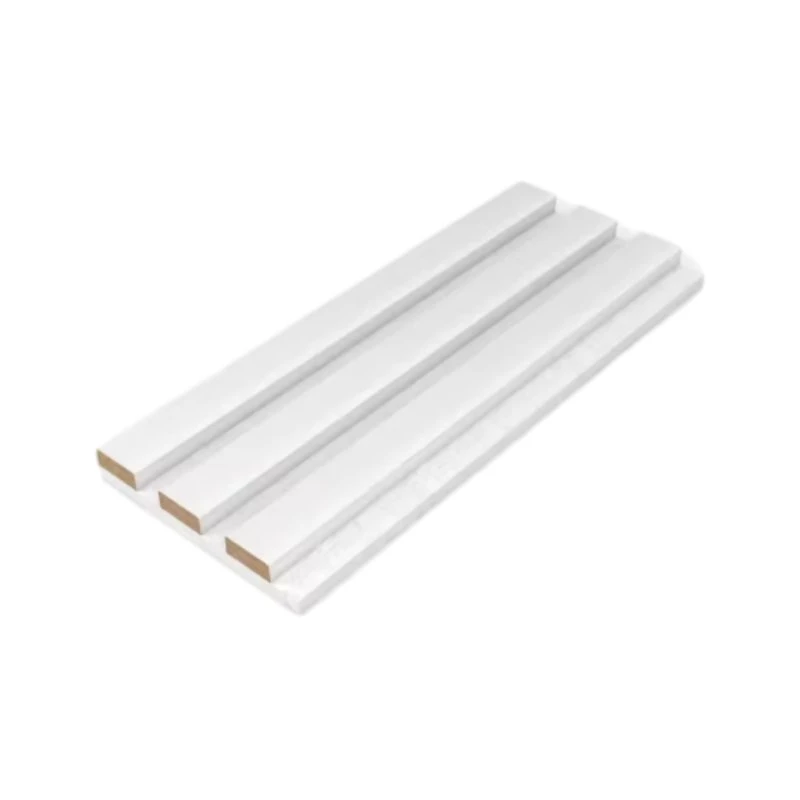
How to Build Acoustic Panels A Step-by-Step Guide
Creating the perfect sound environment in your home or studio often means addressing unwanted noise and echoes. Acoustic panels are an effective solution to tackle these issues. Building your own acoustic panels can be a rewarding project that allows for customization based on your specific needs. Below is a step-by-step guide on how to build acoustic panels that will help improve your sound quality.
Materials Needed
To start, you’ll need the following materials - Acoustic foam, rock wool, or fiberglass insulation for sound absorption - Plywood or wooden frames (1x4s work well) - Fabric for covering the panels (ensure it's breathable) - Spray adhesive or a staple gun - Wood screws and a drill - Saw (for cutting wood) - Acoustic caulk (optional for sealing)
Step 1 Determine Size and Quantity
Before heading to the store, decide where you want to hang your panels and measure those spaces. Consider the size of the panels you'd like to create. Common dimensions are 2x4 feet or 1x1 feet, but you can tailor them to fit your space. Take note of how many panels you’ll need based on your measurements.
Step 2 Construct Frames
Using your saw, cut the plywood or 1x4s to your desired dimensions. Each panel will require four pieces of wood, two for the length and two for the width. Assemble the frame by connecting the corners using wood screws, ensuring that it is sturdy and square.
Step 3 Add Insulation Material
how to build acoustic panels

Once the frame is built, it’s time to insert the sound-absorbing material. Cut the acoustic foam, rock wool, or fiberglass batts to fit snugly inside the frame. Make sure that the material fills the frame completely for optimal sound absorption.
Step 4 Cover the Panels
Next, you’ll want to cover the frame and insulation with fabric. Choose a fabric that is breathable to allow sound to penetrate through, yet visually appealing for your space. Lay the fabric flat, place the frame face down, and pull the fabric over the frame, ensuring it is taut. Use a staple gun to secure the fabric on the back, keeping it neat and tight.
Step 5 Finishing Touches
Trim any excess fabric and ensure all staples are secured. If you want to provide a more polished look, you can use acoustic caulk around the edges to seal the fabric. This step is optional but can enhance the aesthetics of your panels.
Step 6 Mounting the Panels
Finally, decide where to hang your acoustic panels. Use mounting brackets or simple picture hanging hooks based on the weight of your panels. For larger panels, you may want to mount them to the wall directly.
Conclusion
Congratulations! You’ve now built your own acoustic panels. By placing them strategically around your space—especially in areas where sound reflects off hard surfaces—you can significantly reduce echoes and improve the auditory experience. Whether you’re working on music, podcasts, or just want a quieter environment, these panels will make a difference. Enjoy your newly enhanced sound environment!
-
Wooden Sound Proof Panels for Conference RoomsNewsJun.13,2025
-
Maintenance Tips for Felt Wall PanelsNewsJun.13,2025
-
How to Clean and Maintain a Pet Snuffle MatNewsJun.13,2025
-
Custom Shapes and Sizes for Polyester Fiber Acoustic PanelsNewsJun.13,2025
-
Best Sound Proof Panels for Home TheatersNewsJun.13,2025
-
Benefits of Wooden Acoustic Wall Panels for Home TheatersNewsJun.13,2025
