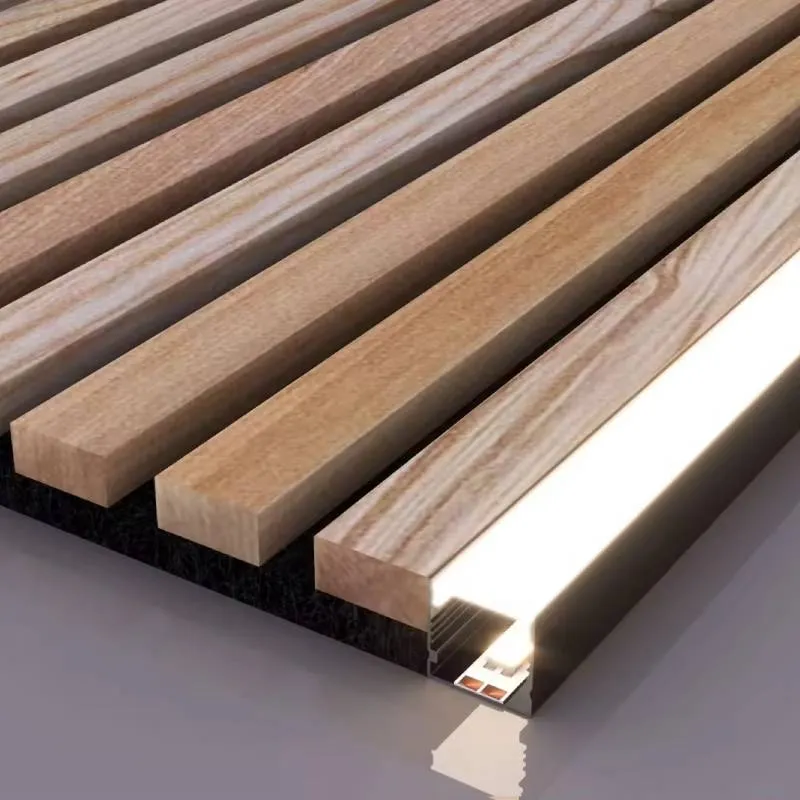
How to Make Acoustic Wood Panels A Step-by-Step Guide
Acoustic wood panels are an excellent solution for improving sound quality in a space while adding aesthetic appeal. These panels help to absorb sound, reduce noise levels, and minimize echo in various environments, from home theatres to recording studios, offices, and even restaurants. If you’re looking to create your own acoustic wood panels, this guide will walk you through the process.
Materials Needed
Before you start, gather the following materials
1. Wood Panels Choose a type of wood that suits your design, such as plywood or medium-density fiberboard (MDF). 2. Acoustic Insulation You can use mineral wool, fiberglass, or acoustic foam. 3. Wood Glue Ensure it’s suitable for your wood type. 4. Nails or Screws For securing the panels together. 5. Staple Gun For fastening the fabric (if you choose to cover the panels). 6. Fabric Acoustic fabric works well, but you can also use burlap or another breathable material. 7. Tools You will need a saw, a measuring tape, a drill, a staple gun, and safety equipment (gloves, goggles).
Step-by-Step Instructions
Step 1 Planning and Measuring
Determine where you want to place your acoustic panels and how many you will need. Measure the dimensions of the space to help you decide on the size of the panels. Generally, larger panels have a more significant sound absorption effect, so aim for dimensions of at least 2 feet by 4 feet.
Step 2 Cutting the Wood Panels
Once you have your measurements, cut the wood panels to size using a saw. Ensure that all cuts are straight and that the panels are symmetrical to give a professional look. Remember to wear safety gear while cutting.
Step 3 Preparing the Insulation
how to make acoustic wood panels

Cut the acoustic insulation material to the same size as your wood panels. This insulation will be placed behind the wood, so it’s essential that they match exactly.
Step 4 Assembling the Panel
Apply wood glue to the back of the wood panel, then position the acoustic insulation on top, pressing down firmly to ensure a good bond. For added security, you can use nails or screws around the edges. Ensure the insulation is correctly aligned with the edges of the wood.
Step 5 Covering with Fabric
If you choose to cover the panels with fabric for aesthetic purposes, this is the next step. Lay the fabric on a flat surface, place the panel with the insulation face down, and pull the fabric over the panel smoothly. Use a staple gun to secure the fabric to the back of the panel. Make sure the fabric is taut and smooth, avoiding any wrinkles or bubbles.
Step 6 Finishing Touches
Trim any excess fabric to ensure a clean finish. If desired, you can paint or stain the wooden sides of the panels to match your room decor. Allow the glue and any finish products to dry according to the manufacturer’s instructions before proceeding.
Step 7 Installing the Panels
Decide on the location where you'll install the acoustic panels. Using wall anchors and screws, mount the panels securely to the wall. You may want to arrange them in a pattern or spread them out evenly across the wall for optimal sound absorption.
Conclusion
Creating your own acoustic wood panels can be a rewarding project that enhances both the sound quality and aesthetic of your space. With just a few materials, tools, and some patience, you can make custom panels that suit your specific needs. Enjoy the benefits of a quieter, more acoustically balanced environment, and take pride in your DIY achievement!
-
Waterproof Dog Blankets for Indoor and Outdoor UseNewsAug.01,2025
-
Sustainable Wool Cat Beds Eco-Friendly Choices for Pet OwnersNewsAug.01,2025
-
Snuffle Ball Benefits for Dogs Mental Stimulation and ExerciseNewsAug.01,2025
-
Puppy Treat Puzzles as Social Tools Fostering Bonding Through PlayNewsAug.01,2025
-
Custom Wooden Pet Houses Tailored to Your Pet’s PersonalityNewsAug.01,2025
-
Corrosion Resistance in Environments: A Guide for Washer Hose ClampsNewsAug.01,2025
