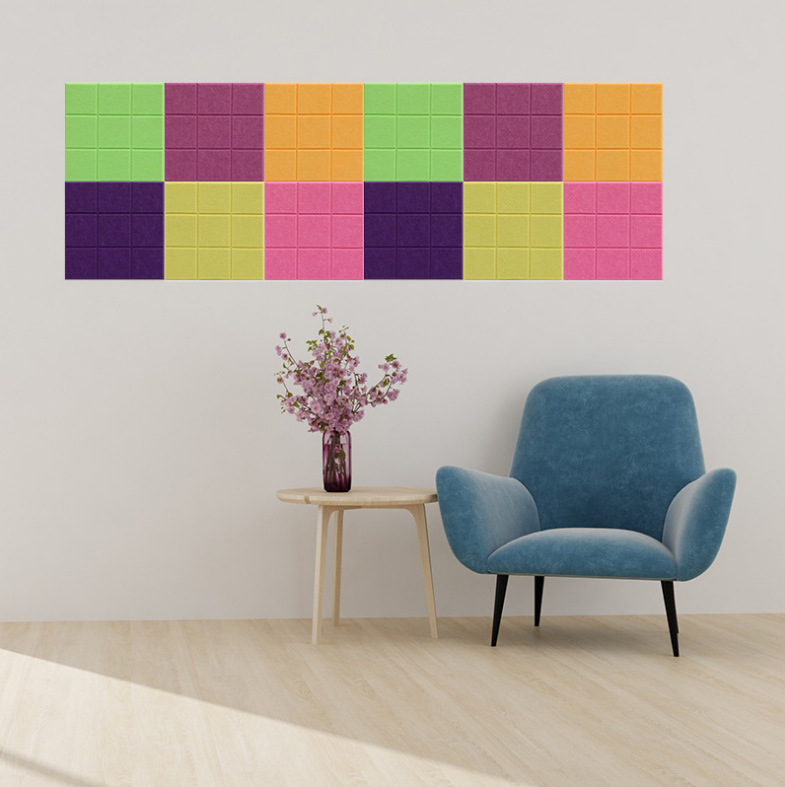
How to Make Acoustic Wall Panels
Acoustic wall panels are an excellent solution for reducing sound reflections in any environment, whether it's a home theater, recording studio, or even a busy office. Not only do they help improve the quality of sound, but they can also enhance the aesthetic of a space. Making your own acoustic wall panels is a rewarding project that requires minimal materials and basic tools. Here's a step-by-step guide on how to create effective and beautiful acoustic panels.
Materials Needed
1. Fiberglass or Rockwool Insulation These materials are extremely efficient at absorbing sound. Choose thickness based on your specific needs; 1-2 inches is a common choice. 2. Wood Frames Plywood or hardwood can be used for the frame. You'll need enough to create a rectangular box around the insulation. 3. Fabric Acoustic fabric or any other breathable material that can cover the panel. Choose a color and texture that matches your decor. 4. Adhesive or Staple Gun To secure the fabric to the frame. 5. Staples or Screws Depending on your chosen fastening method for the frame. 6. Saw For cutting the wood to size. 7. Measuring Tape To ensure accurate dimensions for the frames. 8. Drill If you opt to use screws.
Step-by-Step Instructions
1. Measure Your Space Start by measuring the wall space where you intend to install the panels. Determine how many panels you would like to create and their ideal dimensions.
2. Cut the Wood Using your measurements, cut the wood pieces to create a rectangular frame for each panel. You will require two long pieces (length) and two shorter pieces (height) to form a rectangle.
3. Assemble the Frame Assemble the frames by attaching the pieces together at the corners. You can either use screws or nails, ensuring the frame is sturdy enough to hold the insulation.
how to make acoustic wall panels

4. Cut Insulation Measure and cut the insulation material to fit snugly within the frames. The insulation should be a little thicker than the wood frame to ensure it is compressed slightly, which can enhance its sound absorption capacity.
5. Insert Insulation Place the cut insulation into the wooden frame. Ensure it fits tightly to avoid any air gaps that might reduce acoustical effectiveness.
6. Cover with Fabric Lay the fabric over the front of the frame, pulling it taut. Secure it in place with a staple gun or adhesive, making sure it is evenly distributed and covering all edges of the insulation.
7. Trim Excess Fabric Once the fabric is secured, trim any excess material from the edges for a clean finish.
8. Mount the Panels Determine where you’ll mount the panels for maximum effect. For optimal sound absorption, consider placing them in corners or at first reflection points on the wall. Use appropriate mounting hardware to ensure they are secure.
9. Finishing Touches Once the panels are mounted, step back and admire your handiwork. You can also paint the frames or add additional decorative elements to fit your room's decor.
Conclusion
Creating your own acoustic wall panels can significantly enhance the sound quality of any environment while adding a personal touch to your space. With just a few materials and some time, you can produce panels that are both functional and visually appealing. Whether you're interested in reducing noise in your home office or enhancing the acoustics in a studio, custom acoustic panels are a clever and stylish solution. Plus, the satisfaction of a DIY project is priceless!
