
កុម្ភៈ . 13, 2025 14:49
Back to list
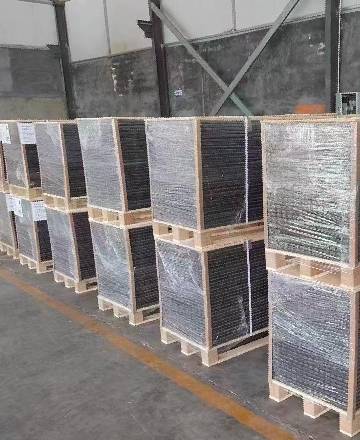
wooden acoustic panels for walls
Creating your own acoustic panels for walls not only empowers you to enhance the sound quality of music studios, home theaters, and other spaces that benefit from sound dampening, but also offers a personalized touch that store-bought solutions often lack. Drawing on professional principles of acoustics, this guide blends expertise with practical advice to ensure your DIY project is both effective and rewarding.
Strategic Placement Determine the best locations in your room for the panels. Key spots include early reflection points like walls adjacent to speakers and behind the listener, as well as near the ceiling if room acoustics demand. Positioning is crucial; panels should be placed at a height that aligns with the typical ear level when seated or at standing point for optimal performance. Installation Once the locations are finalized, securely mount the panels. This can be achieved using Z-clips, which offer stability, or standard wall hooks if mobility is preferred. Ensure each panel is firmly attached to prevent accidents and maintain a professional appearance. Maintaining Your Panels Over time, dust and environmental factors can affect the panels. Regular cleaning with a vacuum or a gentle brush will retain their appearance and performance. If significant wear occurs, consider replacing the fabric or inspecting the core material for degradation. Conclusion By following these expert guidelines, your self-made acoustic panels can rival professional-grade products. With precision and attention to detail, you will create a sound environment that is not only acoustically enhanced but custom-tailored to your aesthetic preferences. This project not only saves costs but hones your skills and deepens your understanding of acoustic principles. Reliable and effective, these panels stand as a testament to both craftsmanship and acoustic science.

Strategic Placement Determine the best locations in your room for the panels. Key spots include early reflection points like walls adjacent to speakers and behind the listener, as well as near the ceiling if room acoustics demand. Positioning is crucial; panels should be placed at a height that aligns with the typical ear level when seated or at standing point for optimal performance. Installation Once the locations are finalized, securely mount the panels. This can be achieved using Z-clips, which offer stability, or standard wall hooks if mobility is preferred. Ensure each panel is firmly attached to prevent accidents and maintain a professional appearance. Maintaining Your Panels Over time, dust and environmental factors can affect the panels. Regular cleaning with a vacuum or a gentle brush will retain their appearance and performance. If significant wear occurs, consider replacing the fabric or inspecting the core material for degradation. Conclusion By following these expert guidelines, your self-made acoustic panels can rival professional-grade products. With precision and attention to detail, you will create a sound environment that is not only acoustically enhanced but custom-tailored to your aesthetic preferences. This project not only saves costs but hones your skills and deepens your understanding of acoustic principles. Reliable and effective, these panels stand as a testament to both craftsmanship and acoustic science.