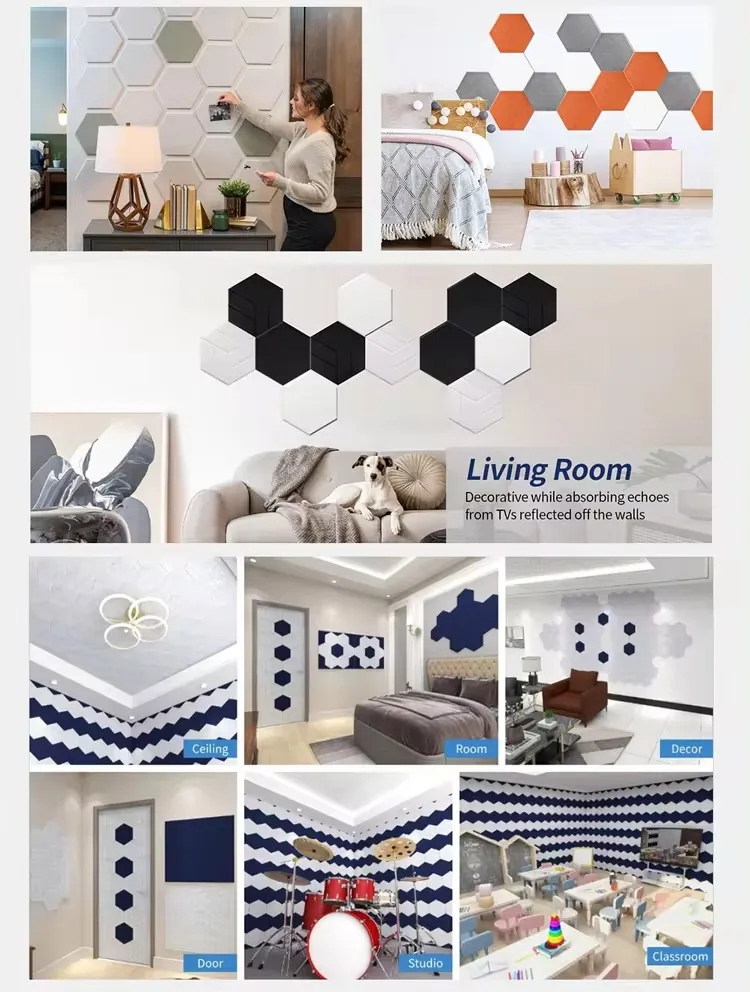
Building Sound Panels Enhancing Acoustic Quality in Spaces
Sound panels are an essential solution for improving acoustic quality in various environments, whether it's a home, studio, office, or public venue. These panels absorb sound and reduce noise levels, leading to improved speech intelligibility and a more pleasant audio experience. Building sound panels can be done with a bit of knowledge and creativity, making it an accessible DIY project for many.
Understanding Sound Panels
Before diving into the construction of sound panels, it is vital to understand how they work. Sound panels are typically made from materials designed to absorb sound waves rather than reflect them. Common materials include foam, fabric-covered acoustic board, and mineral wool. The effectiveness of a sound panel is measured by its absorption coefficient, which indicates how much sound is absorbed at various frequencies.
Materials Needed
When building sound panels, there are several materials you will need
1. Frame Material Use wood (like plywood or 1x4 boards) to construct the frame of the panel. 2. Absorption Material Choose acoustic foam, fiberglass insulation, or mineral wool as the core material. 3. Covering Fabric Select a breathable fabric that complements your space while allowing sound absorption to occur. 4. Adhesives and Fasteners Use construction adhesive, nails, or screws to assemble the frames and secure the covering. 5. Mounting Hardware To hang the panels on walls, consider using hooks, brackets, or mounting strips.
Step-by-Step Process
building sound panels

1. Plan and Measure Determine the size and number of panels needed based on the dimensions of the space and desired acoustic effect. Common panel dimensions are 2x4 feet or 1x1 feet.
2. Construct the Frame Cut your wooden boards to size and assemble them into a rectangular frame using your chosen fasteners. Ensure the frame is sturdy enough to hold the weight of the absorption material.
3. Insert Absorption Material Cut the absorption material to fit snugly within the frame. Place it inside and secure it with adhesive or staples to keep it in place.
4. Cover with Fabric Lay the breathable fabric over the front side of the frame. Pull it taut and wrap it around the edges to the back of the frame. Staple or glue the fabric in place to ensure a neat finish.
5. Mounting the Panels Decide where the panels will be placed for optimal sound absorption. Typically, placing them at first reflection points on the walls, such as beside listening areas, enhances their effectiveness. Use your mounting hardware to securely hang the panels.
Finishing Touches and Considerations
After installing your sound panels, assess the acoustic environment. You may find that additional panels are required in different areas for balanced sound control. Experiment with panel placement and configuration to achieve the best results.
Building your own sound panels can be a rewarding project that not only enhances the acoustic quality of your space but also adds an element of design. With the right materials and a little effort, you can create an environment that is pleasant, focused, and conducive to communication. Whether you’re creating a music studio or simply improving your home office, sound panels are a practical and effective solution to noise issues.
