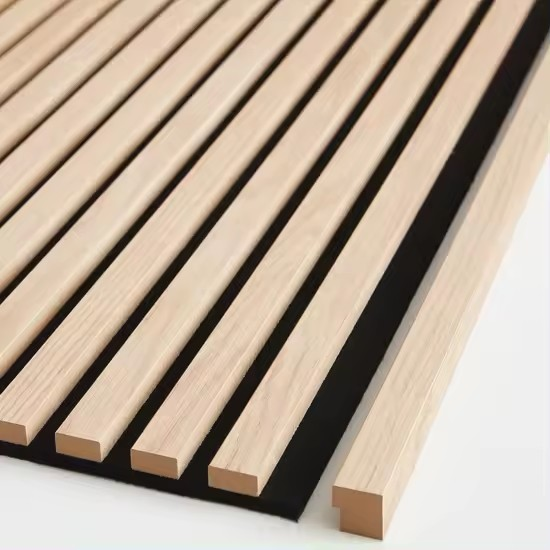
How to Make Acoustic Wood Panels
Acoustic wood panels are an excellent solution for improving sound quality in various spaces, such as music studios, home theaters, and offices. They help absorb sound waves, reducing echoes and enhancing clarity. Building your own acoustic panels can be both a rewarding and cost-effective DIY project. In this article, we’ll go through the steps to create your own acoustic wood panels.
Materials Needed
To get started, you will need the following materials
1. Wood Panels Choose a type of wood that suits your style. Plywood is a common choice because of its durability and availability. 2. Acoustic Foam or Mineral Wool This will absorb sound waves. Acoustic foam can be purchased in sheets, while mineral wool is typically available in batts. 3. Fabric Select a breathable fabric to cover the panels. This allows sound to pass through to the acoustic material while providing an attractive finish. 4. Wood Glue For securing the acoustic material to the wood panels. 5. Staple Gun This will be used to attach fabric to the panels. 6. Tools You will also need a saw (if you need to cut the panels), a measuring tape, and a staple gun.
Step 1 Measure and Cut the Wood Panels
Determine the size of the acoustic panels you want to create, depending on the space you intend to use them in. Common sizes range from 2 feet by 4 feet to 1 foot by 2 feet. Using a saw, cut the wood panels to your desired dimensions. Be sure to wear protective gear when operating tools.
Step 2 Prepare the Acoustic Material
Cut your acoustic foam or mineral wool to fit the size of the wood panels, ensuring that it covers the entire surface. If you’re using mineral wool batts, ensure that they fit snugly without being compressed.
Step 3 Assemble the Panels
how to make acoustic wood panels

Apply wood glue to the surface of your wooden panel. Carefully place the acoustic material on top of the glued surface, pressing down firmly to ensure good adhesion. If you're using mineral wool, it can be beneficial to use additional braces or a frame for support.
Step 4 Cover with Fabric
After the adhesive has set, it’s time to wrap the panels in fabric. Lay the fabric face down on a flat surface, and place the acoustic panel on top. Pull the fabric tightly around the edges and secure it on the backside using the staple gun. Ensure that the fabric is smooth and free of wrinkles for a professional look.
Step 5 Finishing Touches
To enhance the aesthetic, trim any excess fabric around the edges. You can also paint or stain the wood frame before attaching the acoustic material if you desire a specific finish.
Step 6 Mounting the Panels
Decide where you want to hang your acoustic panels. You can use mounting brackets or adhesive strips for installation. Make sure the panels are placed strategically in areas where sound issues occur most frequently, such as corners or on walls opposite speakers.
Conclusion
Creating your own acoustic wood panels can significantly improve the sound quality of any space. Not only is it a cost-effective solution, but it also allows for customization that can match your decor. By following these simple steps, you can build beautiful and functional acoustic panels that enhance your environment, making it more enjoyable for listening, working, or creating. So gather your materials and get started on this fulfilling DIY project!
-
Wooden Sound Proof Panels for Conference RoomsNewsJun.13,2025
-
Maintenance Tips for Felt Wall PanelsNewsJun.13,2025
-
How to Clean and Maintain a Pet Snuffle MatNewsJun.13,2025
-
Custom Shapes and Sizes for Polyester Fiber Acoustic PanelsNewsJun.13,2025
-
Best Sound Proof Panels for Home TheatersNewsJun.13,2025
-
Benefits of Wooden Acoustic Wall Panels for Home TheatersNewsJun.13,2025
